这章节主要介绍web项目登录授权的功能开发,现在的开发中我们常用到的登录验证方式有以下几种,1 Security ,2 shiro , 3 使用传统的方式自己写过滤器,以下几种方式都各有个的优点。在没有Security ,shiro 年代里大家都是自己手写自己的验证过滤器,在传统项目中都自己写过滤器进行登录验证。现在如果条件允许我还是喜欢自己手写登录过滤器功能,就像大家总感觉自己做的东西一定比外边卖的要干净又卫生还好吃一样。shiro优点是可以自由和其他框架组合灵活多变,学习资料多,功能强大,使用的人多。Security的优点是spring 家族的亲儿子,可以和spring家族的系列插件融合使用,与spring boot契合度最高。如果项目使用的是 spring boot 搭建的项目框架,那用Security 是最优的选择。在生活中有孩子的人一定知道一个道理,亲儿子一定比继子强,能用亲儿子就一定要用亲儿子。
Spring Security 是什么
Spring Security 主要的作用是认证(身份验证)和授权
Spring Security 提供了在 Spring Framework 容器中 “身份验证”和“授权” 等安全相关的功能 ,API相当的丰富多彩。
- 认证(身份验证) 认证是对人的身份进行识别。例如 密码认证(基本认证)、人脸认证、指纹认证。
- 授权 授权可以理解为,那些url路径有权利可以访问web容器中的方法和页面等静态资源。
Spring Security 是一组实现这种身份验证/授权的spring 容器
1 Spring Security 项目初始化
在spring boot 中使用,需要导入如下的security的jar包。
pom.xml
<dependencies>
<dependency>
	<groupId>org.springframework.boot</groupId>
	<artifactId>spring-boot-starter-security</artifactId>
	<version>2.2.2.RELEASE</version>
</dependency>
</dependencies>
导入成功后启动项目
@SpringBootApplication
public class OnApp {
    public static void main(String[] args) {
            new SpringApplicationBuilder(OnApp.class).
                web(WebApplicationType.SERVLET).run(args);
    }
}
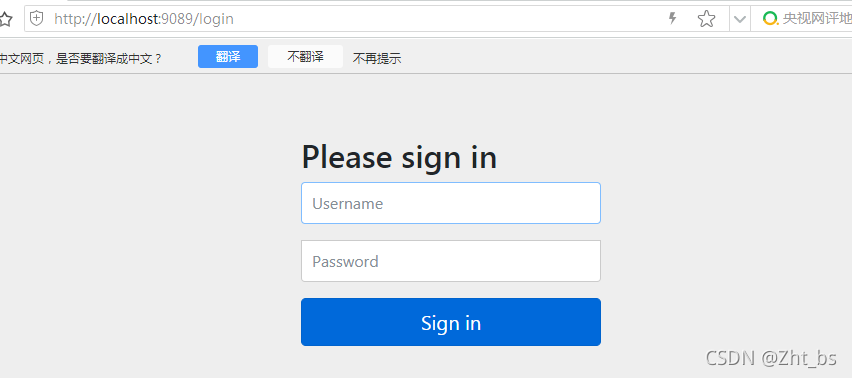
浏览中录入 http://localhost:9089 地址。

看到这个页面,证明Security安全验证框架导入项目成功了。你的web项目已经被Security保护起来了。
如果要注销,请转到“localhost:9089/logout”并单击“注销”。
如果对spring boot jsp 搭建不太熟悉请看Springboot 入门培训 4 WEB+JSP项目搭建
2 创建项目网络安全配置器
现在的Spring Security 是没有任何功能的, 需要我们自己来开发和配置它的认证与授权功能。Spring Security 提供了网络安全配置器类「WebSecurityConfigurerAdapter」。它是一个抽象类,要有它的子类来实现抽象方法,我们创建一个子类来继承这个网络安全配置器类。
WebSecurityConfig.java
@EnableWebSecurity
public class WebSecurityConfig extends WebSecurityConfigurerAdapter {
}
3 认证方法配置
认证方法相关的设置,在WebSecurityConfigurerAdapter子类中覆盖configure方法。这个方法的参数是AuthenticationManagerBuilder auth认证处理器。
认证 configure 方法
- 参数AuthenticationManagerBuilder auth 有这个参数的方法为认证方法。
@Override
public void configure(AuthenticationManagerBuilder auth) throws Exception {
PasswordEncoder encoder =
PasswordEncoderFactories.createDelegatingPasswordEncoder(); auth.inMemoryAuthentication().
withUser("admin").
password(encoder.encode("zhtbs")).
roles("USER");
}
- withUser(“用户名称”) 设置用户名称
- password(“用户密码”) 设置密码
- roles(权限级别)
下面定义一个认证成功后的初始化页面。
src/main/webapp/index.html
<!DOCTYPE html>
<html>
<head>
    <meta charset="UTF-8">
    <title>第一个页面</title>
</head>
<body>
<div class="zht">第一个页面</div>
</body>
</html>
上面如有不懂请参考spring boot jsp项目
启动项目访问 http://localhost:9089 地址。在页面中输入用户与密码信息。
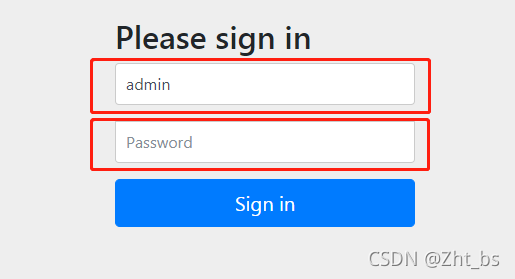
用户: admin , 密码: zhtbs
认证成功后,会看到如下页面
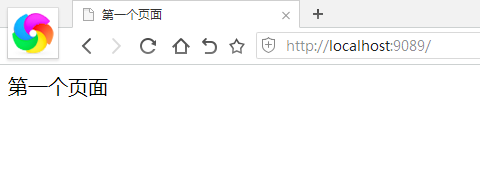
以上是为大家演示的一个简单的Spring Security 认证流程。
4 授权方法配置
在默认情况下,初始化的Spring Security 需要身份验证才能访问除登录和注销之外的所有页面。但是,在很多实际情况中,很多页面是不需要身份验证的,需要用户来直接访问到的。如果有这样的业务场景的话,需要在 WebSecurityConfigureAdapter子类中,覆盖下面的配置方法来实现。
授权 configure 方法
参数 HttpSecurity http 有这个参数的方法为授权方法。
@Override
protected void configure(HttpSecurity http) throws Exception {
  http.authorizeRequests()
      .anyRequest().authenticated()
      .and().formLogin()
      .and().httpBasic();
}
在这个方法中,设置项目中每个web页面的、访问权限设置、登录处理设置、注销处理设置等。现在,我们将解释一下访问权限授权这个方法。
1 获得请求的授权的规则配置器
2 设置url规则,所有请求url路径都需要验证,如果没有验证被挡住。
- anyRequest().authenticated()
3 设置登录页面规则
-
and() 配置连接器
-
and().formLogin()
4 设置http请求认证类型为Basic请求规则
-
and() 配置连接器
-
and().httpBasic()
上的方法表示为所有的url求情都需要身份验证通过之后,才可以被授权访问。
授权放行访问url
使用antMatchers和permitAll 方法设置要授权放行的url路径。
@Override
protected void configure(HttpSecurity http) throws Exception {
http.authorizeRequests().
antMatchers("/zht/temp1").
permitAll()
.anyRequest().authenticated()
.and().formLogin()
.and().httpBasic();
}
1 获得请求的授权的规则配置器
2 设置授权url路径,注意顺序授权url方法一点要在anyRequest().authenticated()方法前面,如果在它后面没有效果。
- antMatchers("/zht/temp1").permitAll()
3 设置登录页面规则
4 设置http请求认证类型为Basic请求规则
注意: antMatchers().permitAll() 一定要在 anyRequest().authenticated() 前面使用。
创建访问容器类
@Controller
@RequestMapping("/zht")
public class ZhtController {
	@RequestMapping("/temp1")
	 public String temp1(Model map) {
		map.addAttribute("name", "欢迎来到 templates 页面");
	   return "zht";
	 }
	@RequestMapping("/index")
	 public String index(Model map,String test) {
		System.out.println("===========测试访问到了===========");
		System.out.println("===========测试 test value "+test+"===========");
		map.addAttribute("name", "欢迎来到 web jsp页面");
	   return "index";
	 }
}
创建zht.html页面
<%@ page language="java" import="java.util.*" pageEncoding="utf-8"%>
<html>
<body>
这是直接访问的页面
(没有验证)
</body>
</html>
启动spring boot 在浏览器中 http://localhost:9089/zht/temp1 。页面可以不用验证直接访问到。

在浏览器中 http://localhost:9089/zht/index 。我们看到页面跳转端验证页面需要验证才可以,访问到http://localhost:9089/zht/index这个url容器。
代码例子下载
cs