Spark Streaming编程初级实践
一、安装Hadoop和Spark
具体的安装过程在我以前的博客里面有,大家可以通过以下链接进入操作:
Hadoop的安装:https://blog.csdn.net/weixin_47580081/article/details/108647420
Scala及Spark的安装:https://blog.csdn.net/weixin_47580081/article/details/114250894
提示:如果IDEA未构建Spark项目,可以转接到以下的博客:
IDEA使用Maven构建Spark项目:https://blog.csdn.net/weixin_47580081/article/details/115435536
二、启动Hadoop与Spark
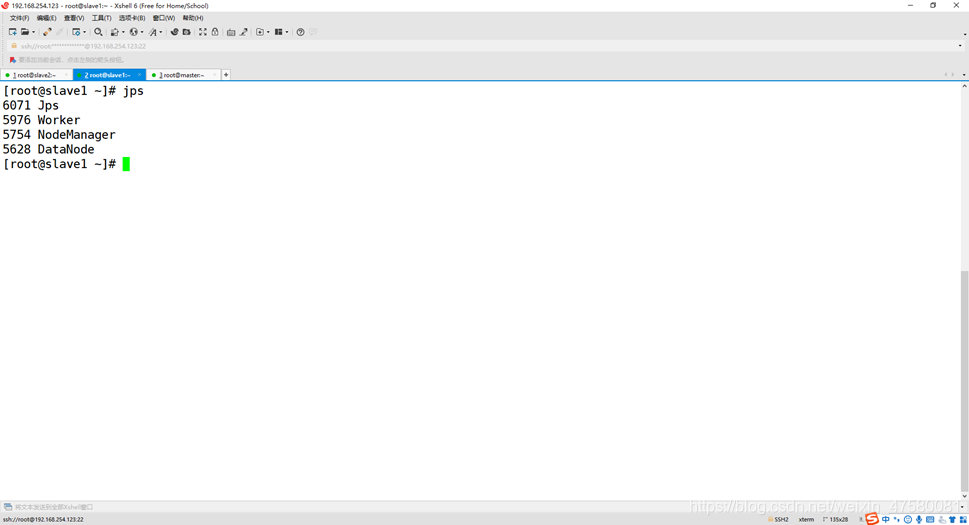
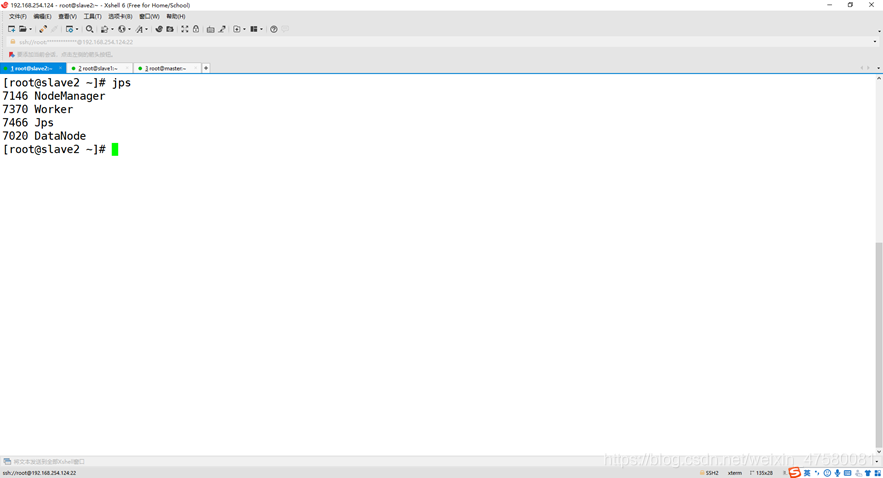
查看3个节点的进程
master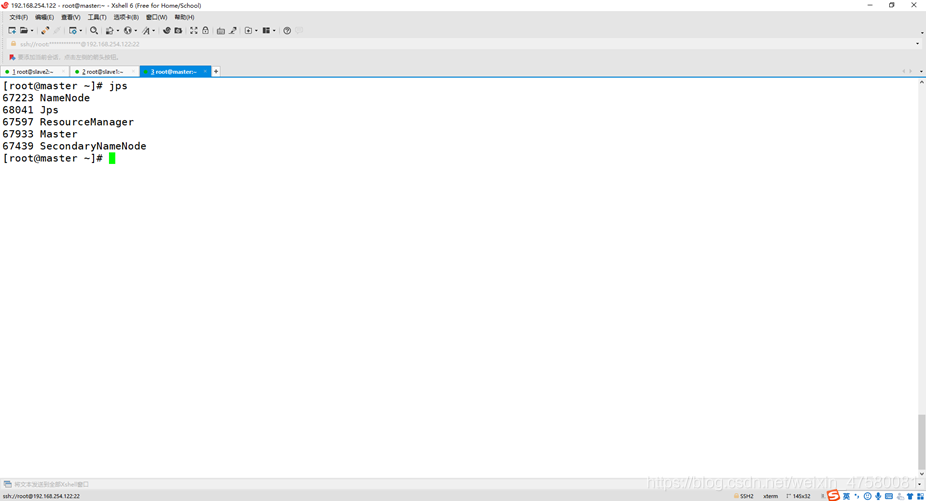
slave1
slave2
三、使用 Avro 数据源测试 Flume
Avro 可以发送一个给定的文件给 Flume,Avro 源使用 AVRO RPC 机制。请对 Flume的相关配置文件进行设置,从而可以实现如下功能:在一个终端中新建一个文件helloworld.txt(里面包含一行文本“Hello World”),在另外一个终端中启动 Flume 以后,可以把 helloworld.txt 中的文本内容显示出来。
1、创建agent文件
cd /usr/flume/apache-flume-1.7.0-bin/conf
vim avro.conf
添加内容如下:
a1.sources = r1
a1.sinks = k1
a1.channels = c1
a1.sources.r1.type = avro
a1.sources.r1.channels = c1
a1.sources.r1.bind = 0.0.0.0
a1.sources.r1.port = 4141
a1.sinks.k1.type = logger
a1.channels.c1.type = memory
a1.channels.c1.capacity = 1000
a1.channels.c1.transactionCapacity = 100
a1.sources.r1.channels = c1
a1.sinks.k1.channel = c1

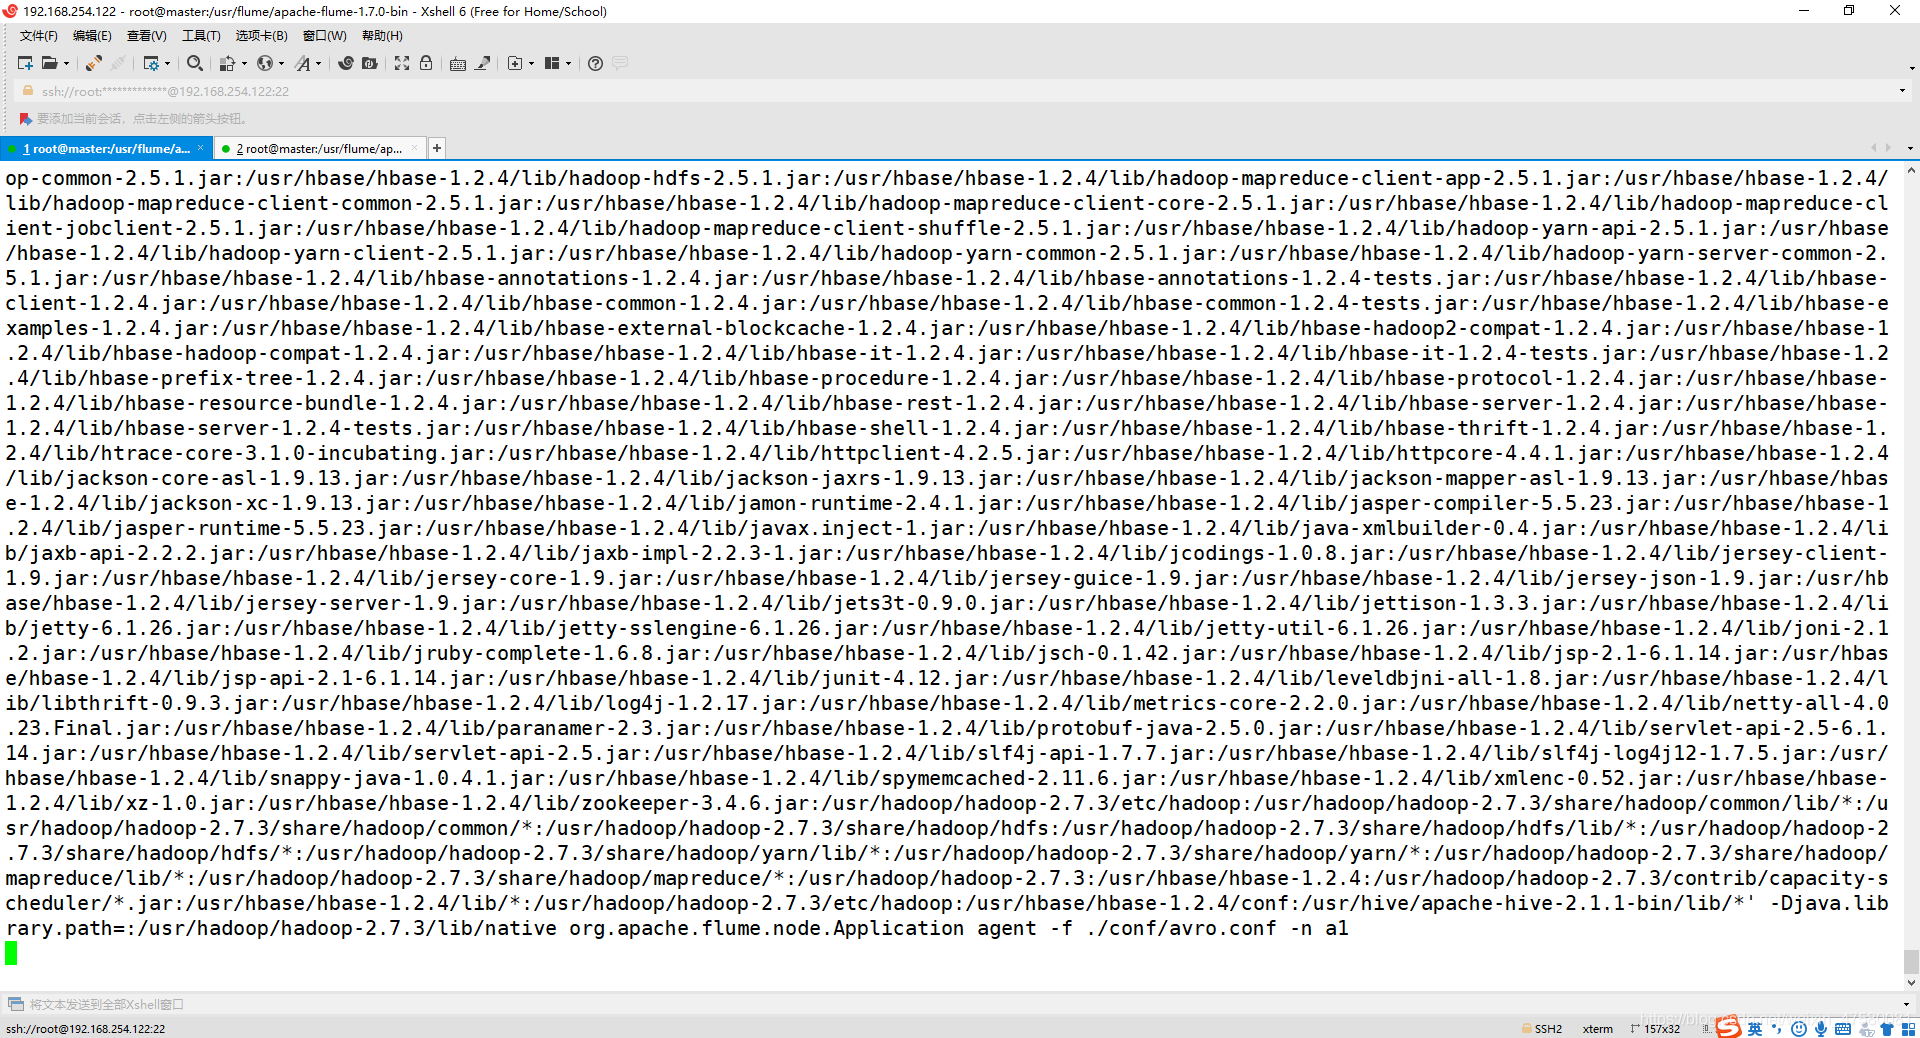
2、启动 flume agent (即打开日志控制台):
cd /usr/flume/apache-flume-1.7.0-bin/
./bin/flume-ng agent agent -c conf/ -f ./conf/avro.conf -n a1 -Dflume.root.logger=INFO,console
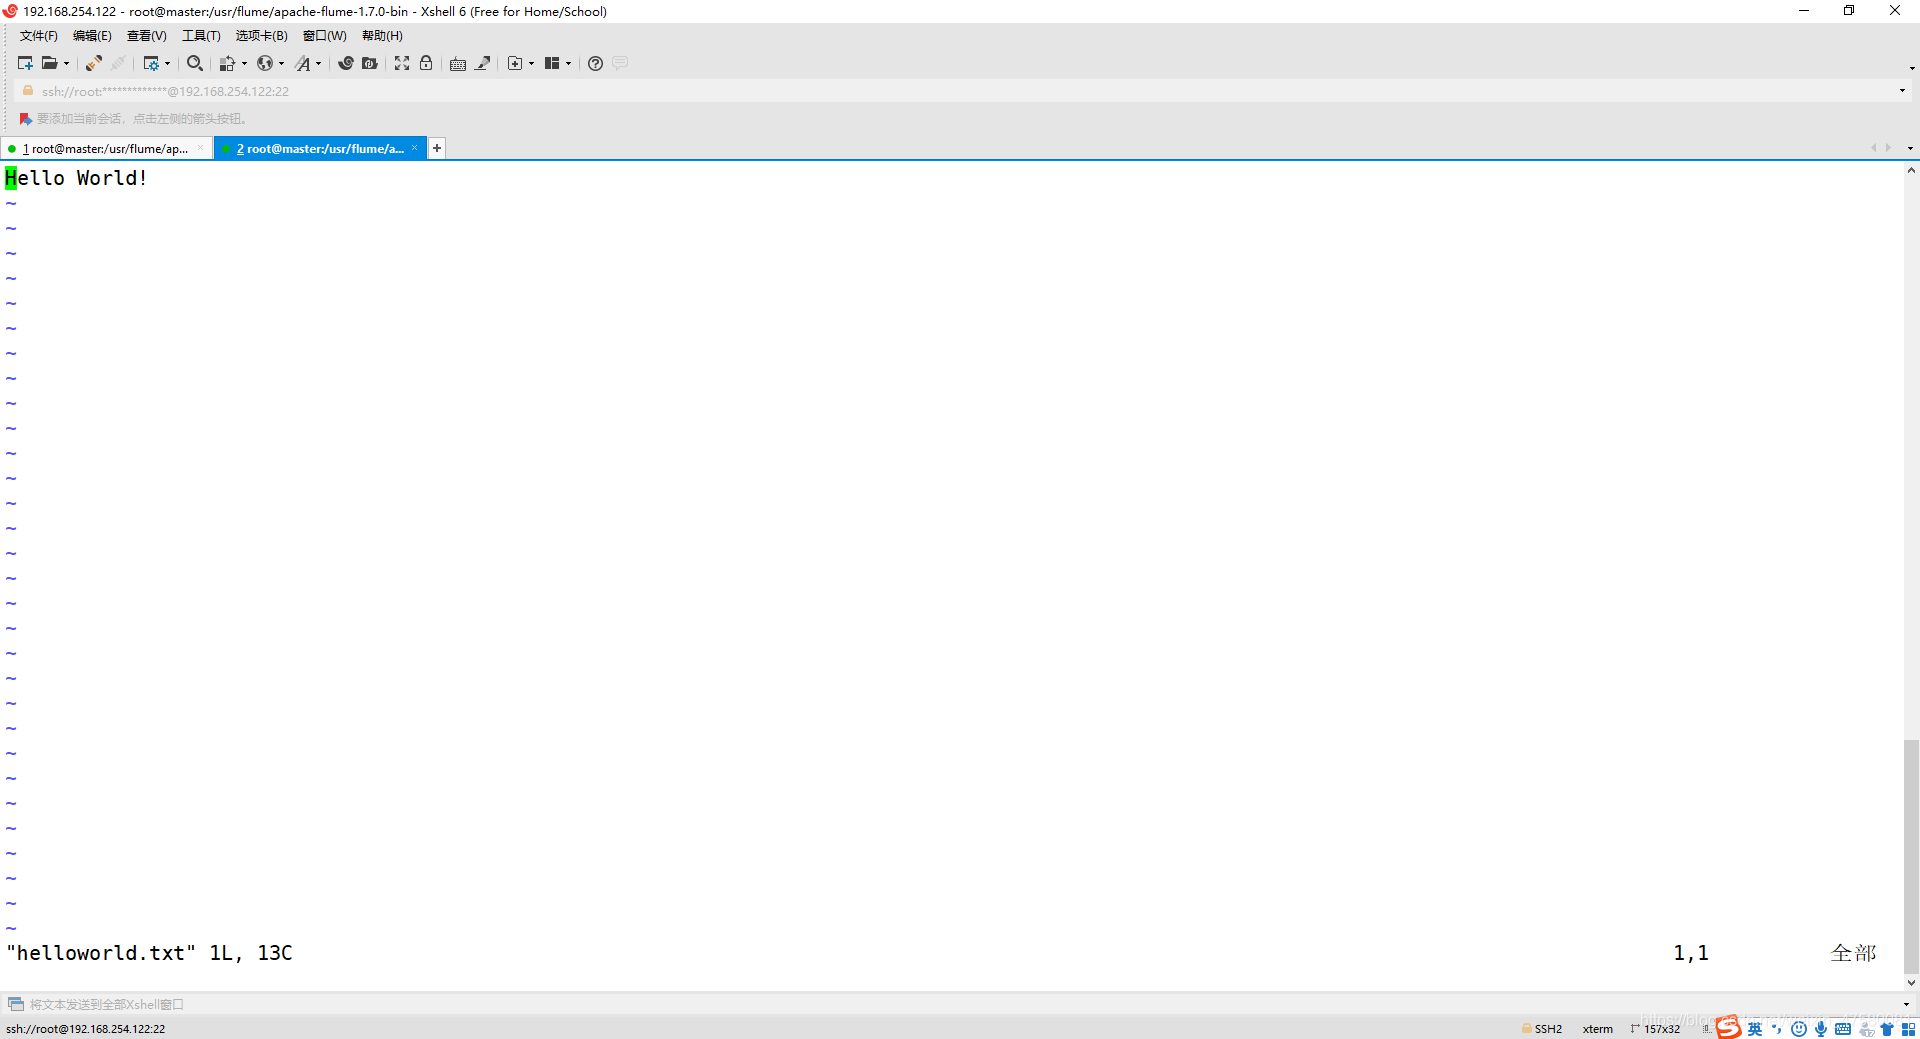
3、新建一个终端,新建一个文件helloworld.txt(里面包含一行文本“Hello World!”)
cd /usr/flume/apache-flume-1.7.0-bin/
vim helloworld.txt
4、在另外一个终端中启动 Flume 以后,使用avro-client发送文件
cd /usr/flume/apache-flume-1.7.0-bin/
./bin/flume-ng avro-client -H localhost -p 4141 -F ./helloworld.txt
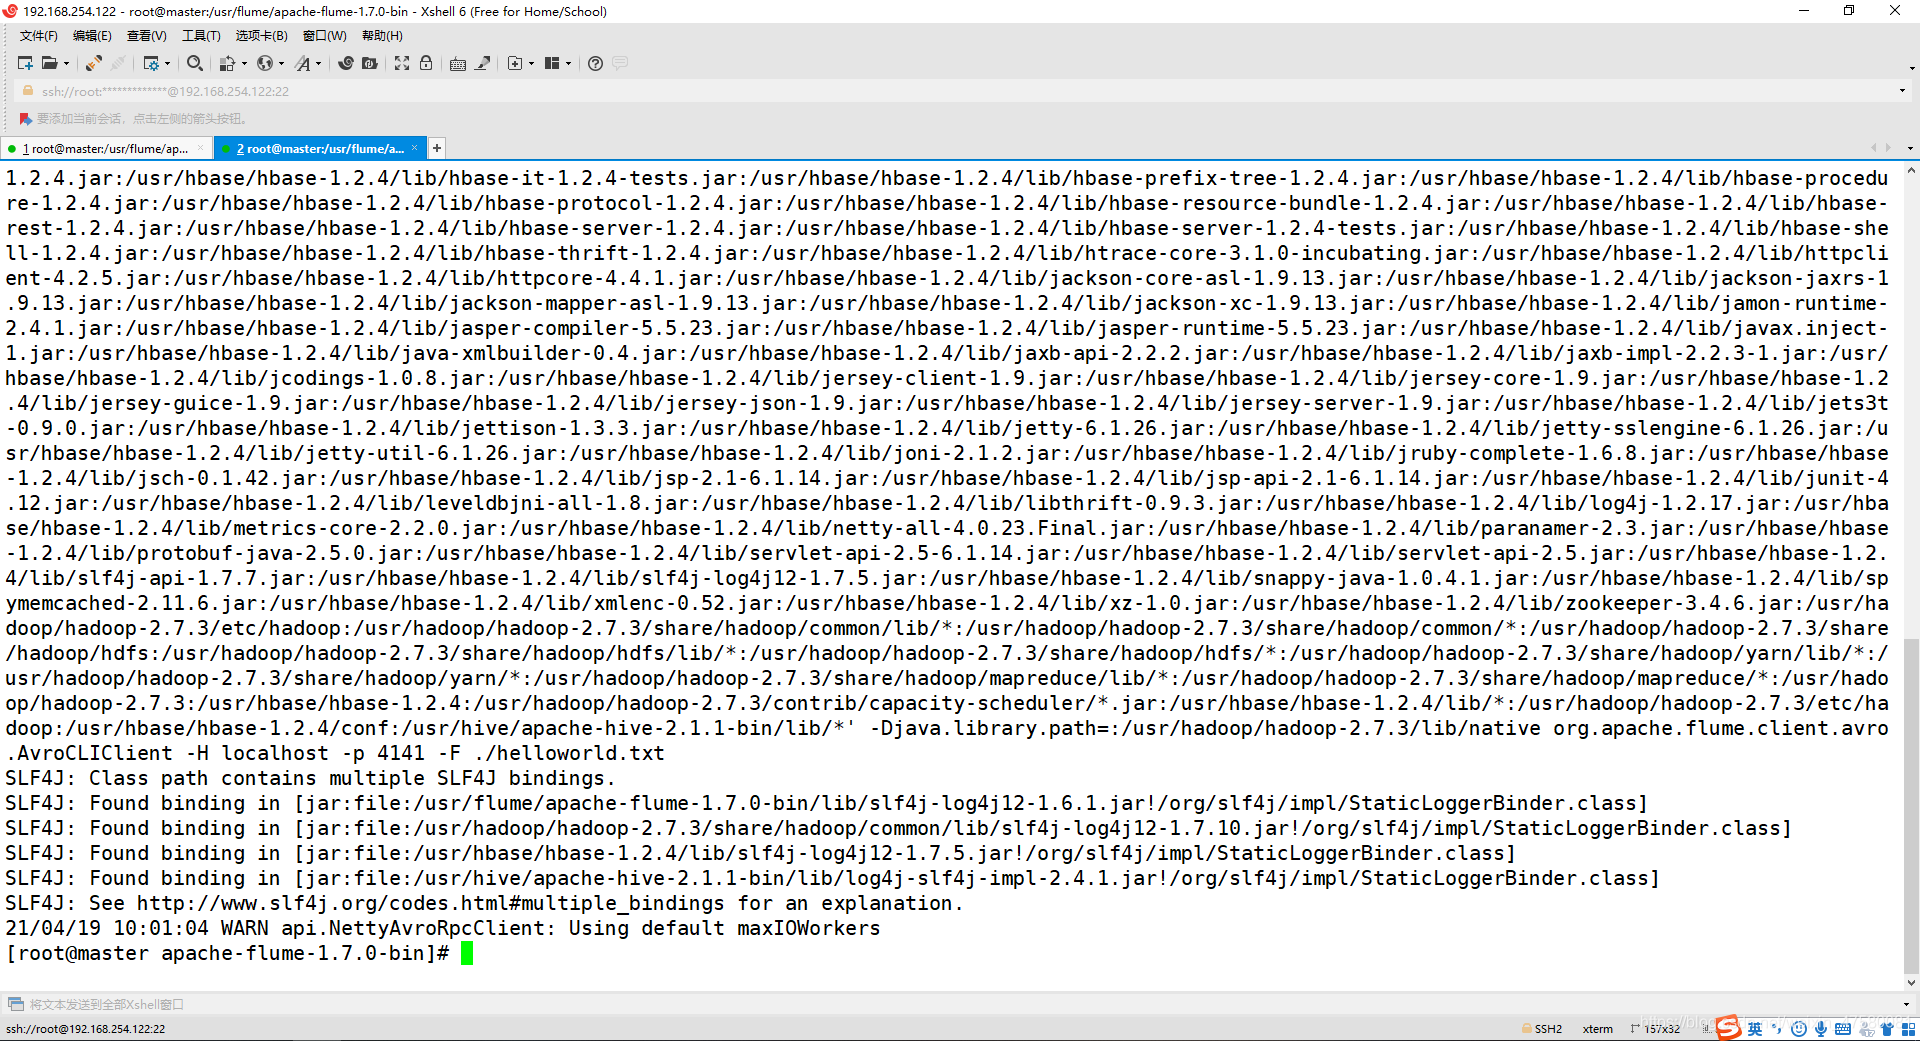
5、观看第一个终端显示 helloworld.txt 文本中的内容

四、使用 netcat 数据源测试 Flume
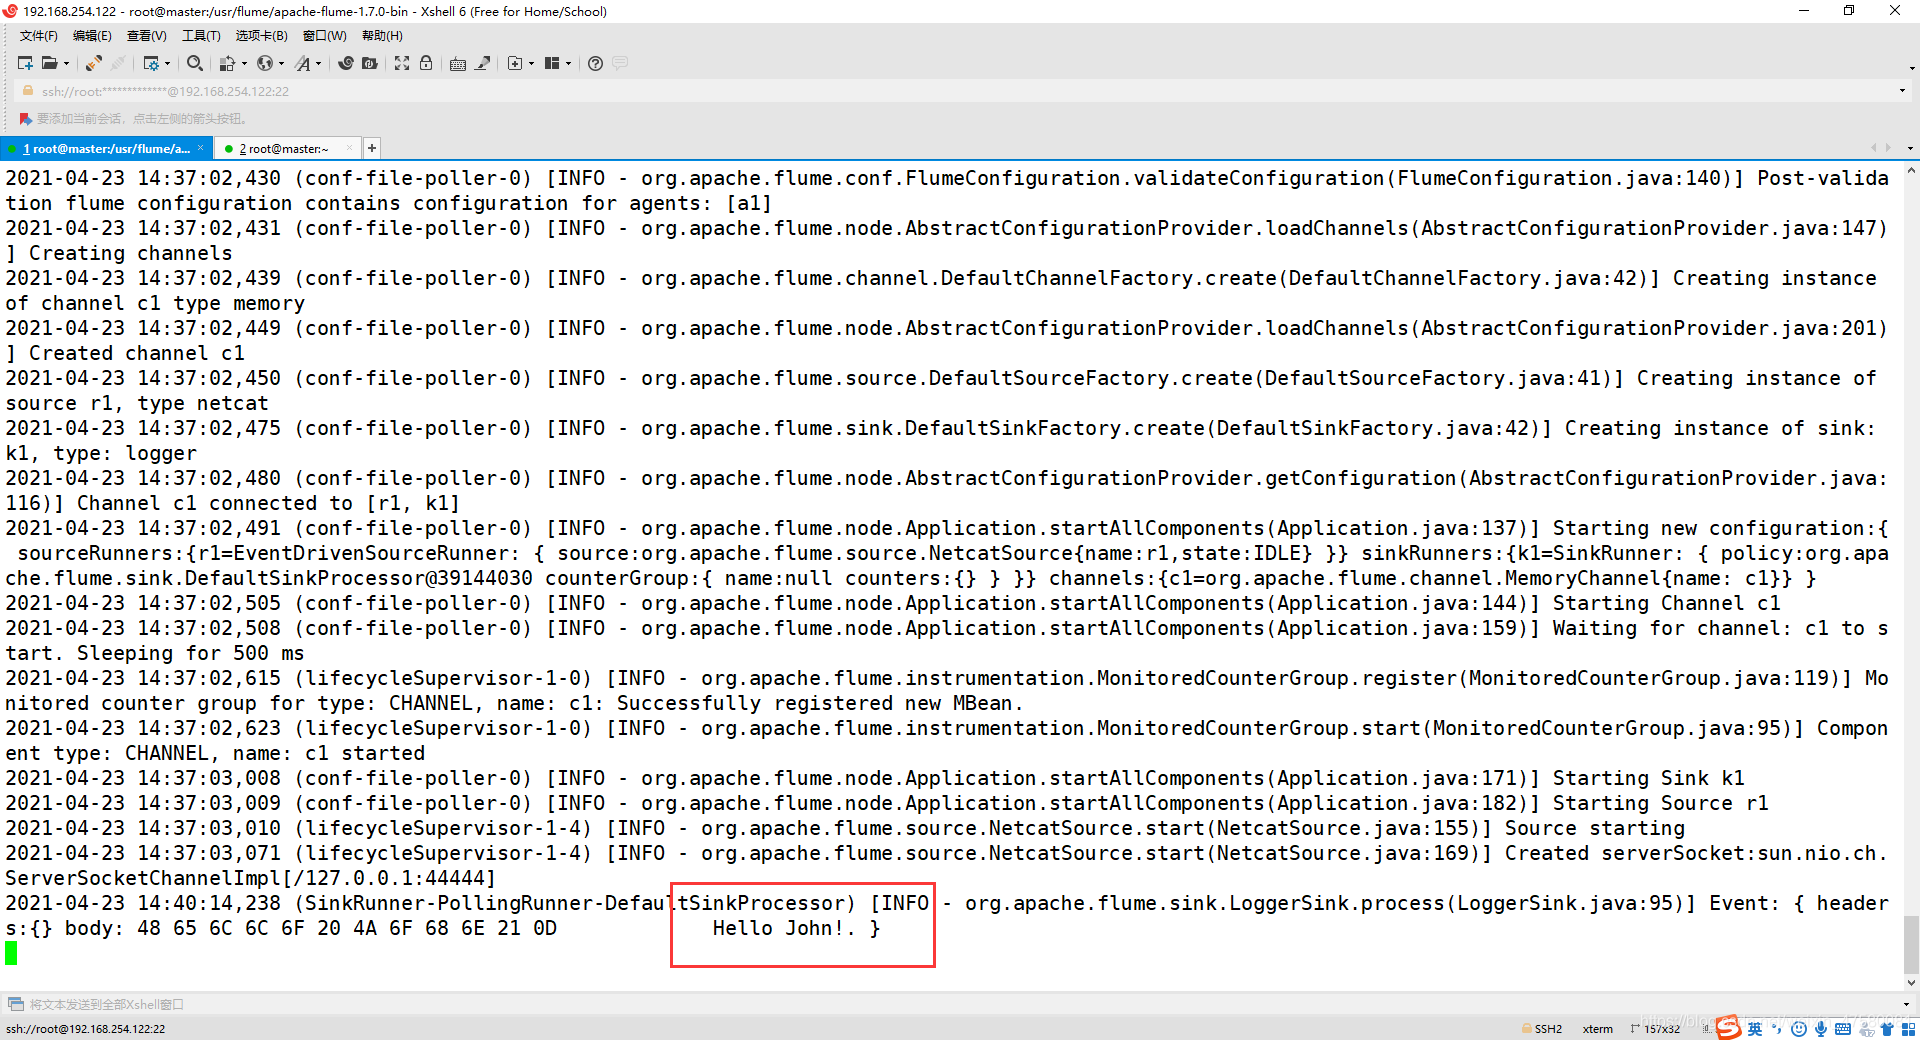
请对Flume的相关配置文件进行设置,从而可以实现如下功能:在一个Linux终端(这里称为“Flume终端”)中,启动Flume,在另一个终端(这里称为“Telnet终端”)中,输入命令“telnet localhost 44444”,然后,在Telnet终端中输入任何字符,让这些字符可以顺利地在Flume终端中显示出来。
1、创建agent文件
cd /usr/flume/apache-flume-1.7.0-bin/conf/
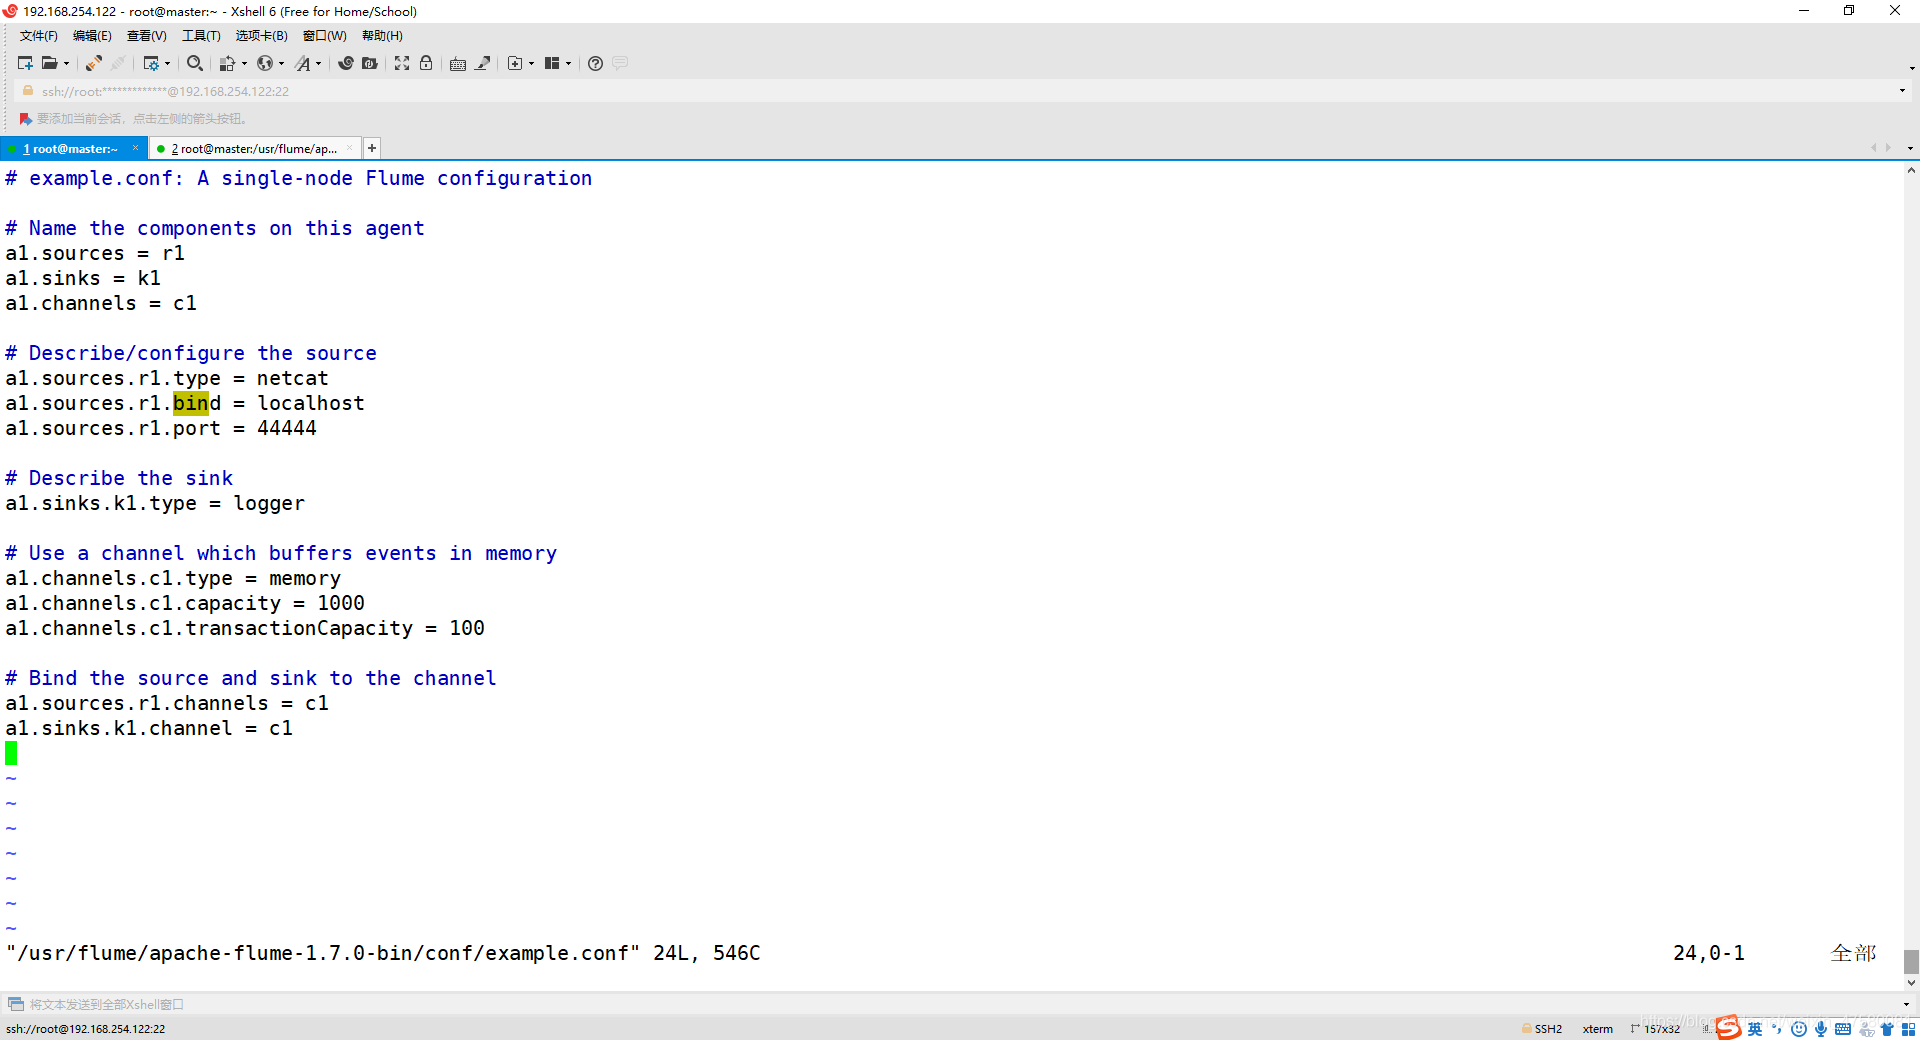
vim example.conf
添加以下内容:
a1.sources = r1
a1.sinks = k1
a1.channels = c1
a1.sources.r1.type = netcat
a1.sources.r1.bind = localhost
a1.sources.r1.port = 44444
a1.sinks.k1.type = logger
a1.channels.c1.type = memory
a1.channels.c1.capacity = 1000
a1.channels.c1.transactionCapacity = 100
a1.sources.r1.channels = c1
a1.sinks.k1.channel = c1
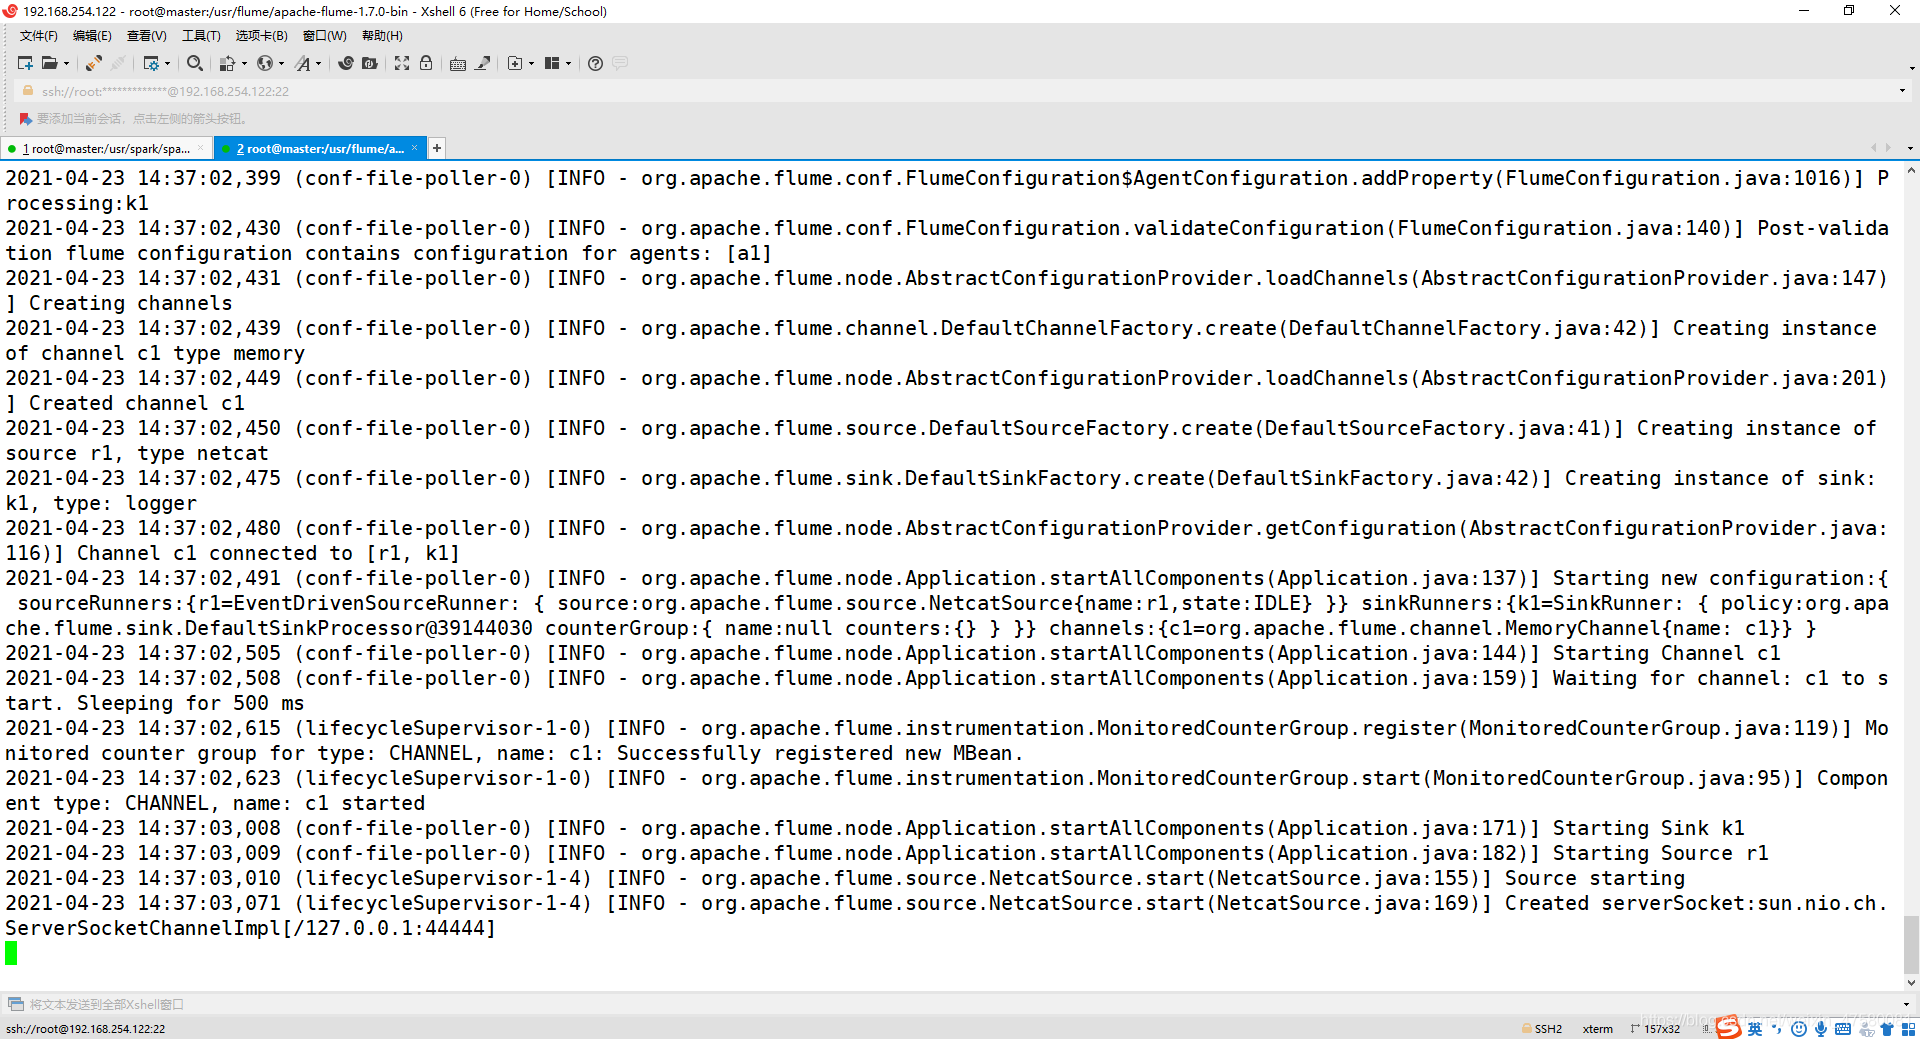
2、启动 flume agent (即打开日志控制台):
cd /usr/flume/apache-flume-1.7.0-bin/
bin/flume-ng agent --conf conf --conf-file conf/example.conf --name a1 -Dflume.root.logger=INFO,console
3、再打开一个终端,进入主机
telnet localhost 44444
发现出错,原因没有 telnet 命令,所以下载 telnet
4、下载 telnet
yum -y install telnet-server.x86_64
yum -y install telnet.x86_64
yum -y install xinetd.x86_64
5、设置开机自启
chkconfig telnet on
6、修改配置文件
vim /etc/xinetd.d/telnet
注意,在 centos7 以前的版本有这个配置文件,以后的版本没有,可以新建并修改如下:
service telnet
{
flags = REUSE
socket_type = stream
wait = no
user = root
server =/usr/sbin/in.telnetd
log_on_failure += USERID
disable = no
}
如有则修改,第一次修改,此文件若不存在,可自己vim创建修改,修改 disable = yes 为 disable = no
7、开启service,发现没有service,于是下载
yum install initscripts -y
8、下载完成,执行命令
systemctl restart xinetd.service
9、再次输入命令
telnet localhost 44444
10、测试结果
在第二个终端输入想要发送的字符
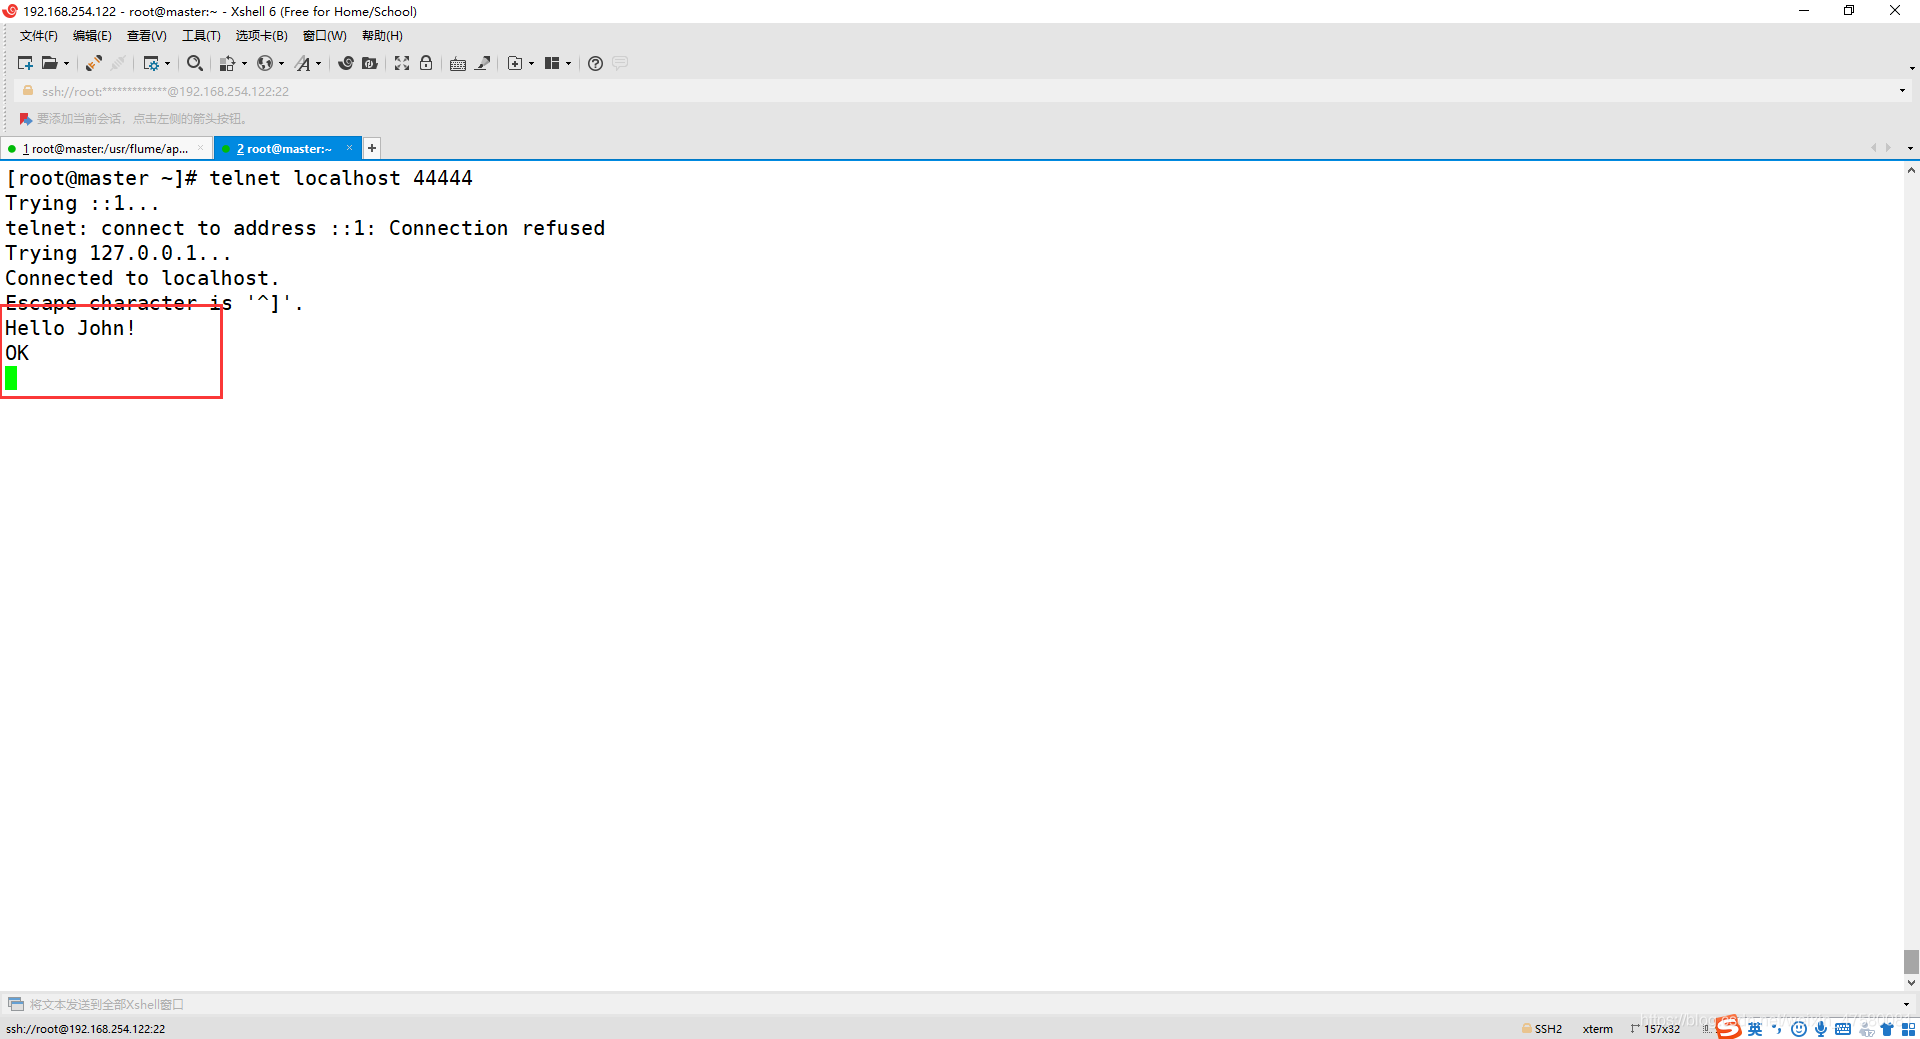
观看第一个终端的消息,如下有第二个终端发送的消息即可!
五、使用Flume 作为Spark Streaming 数据源
Flume是非常流行的日志采集系统,可以作为Spark Streaming的高级数据源。请把Flume Source设置为netcat类型,从终端上不断给Flume Source发送各种消息,Flume把消息汇集到Sink,这里把Sink类型设置为avro,由Sink把消息推送给Spark Streaming,由自己编写的Spark Streaming应用程序对消息进行处理。
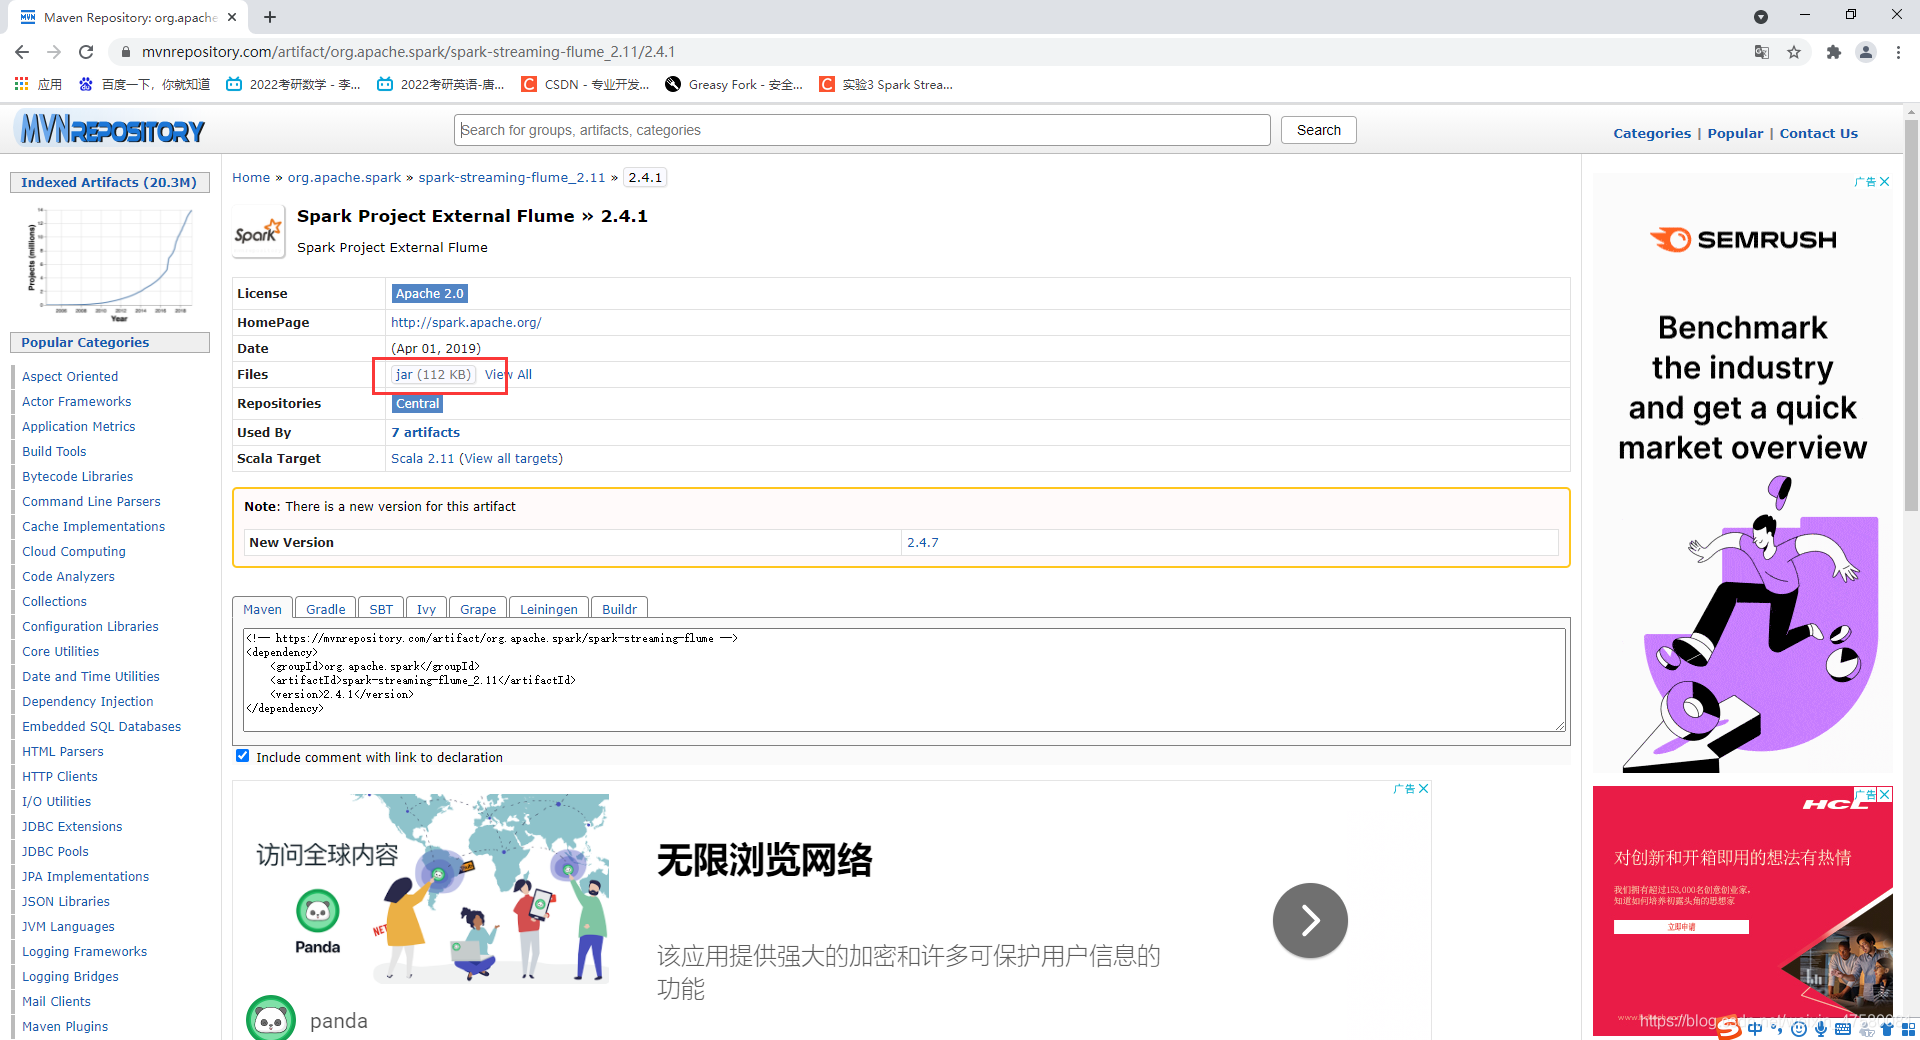
1、下载spark-streaming的jar包
我下载的是spark-streaming-flume_2.11-2.4.1.jar
注意要下载对应的版本:2.11代表的是scala的版本,2.4.1代表的是spark的版本!
spark-streaming-flume下载链接:https://pan.baidu.com/s/1PCHelkFRJC-tqEV3KewQNw
提取码:oz4l
或者
在官网下载,地址如下:
https://mvnrepository.com/artifact/org.apache.spark/spark-streaming-flume_2.11/2.4.1
将下载的安装包通过Xftp传输到Linux虚拟机中
2、将下载的jar包导入spark的jars目录下
进入jars目录,新建flume文件夹并将
cd /usr/spark/spark-2.4.1-bin-hadoop2.7/jars/
mkdir flume
cp /opt/software/spark-streaming-flume_2.11-2.4.7.jar /usr/spark/spark-2.4.1-bin-hadoop2.7/jars/flume/
将flume的lib目录下的jar包,复制到spark的jars下
\cp -rf /usr/flume/apache-flume-1.7.0-bin/lib/* /usr/spark/spark-2.4.1-bin-hadoop2.7/jars/
注意,在复制过来以后,确认是否覆盖原有的包,我选择的是替换,在复制过后可能会出现多个版本的jar包冲突,需要将冲突的包删去。
这里我用了\cp强制覆盖原来的文件,就不需要一个个确定!
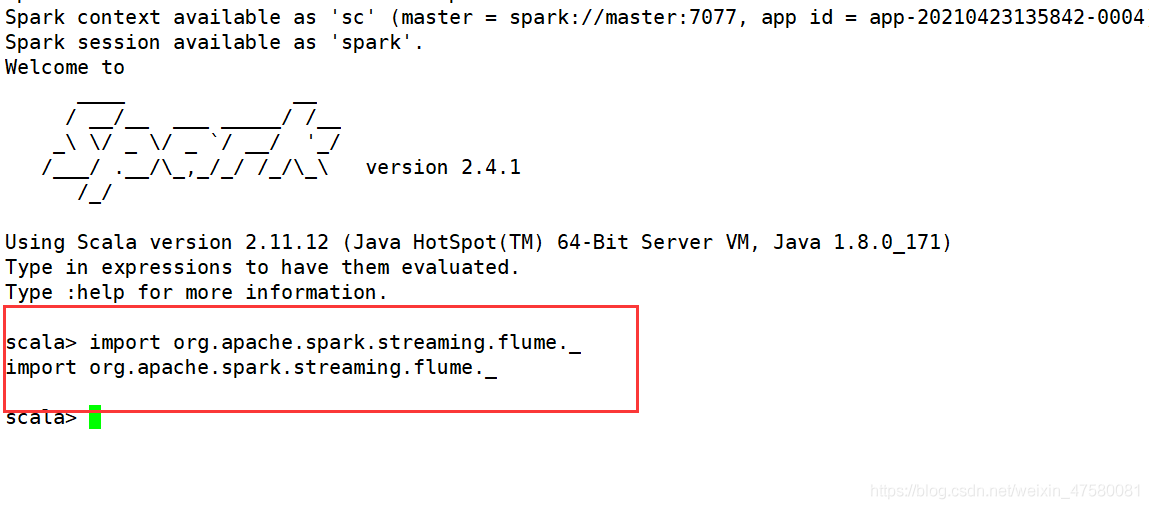
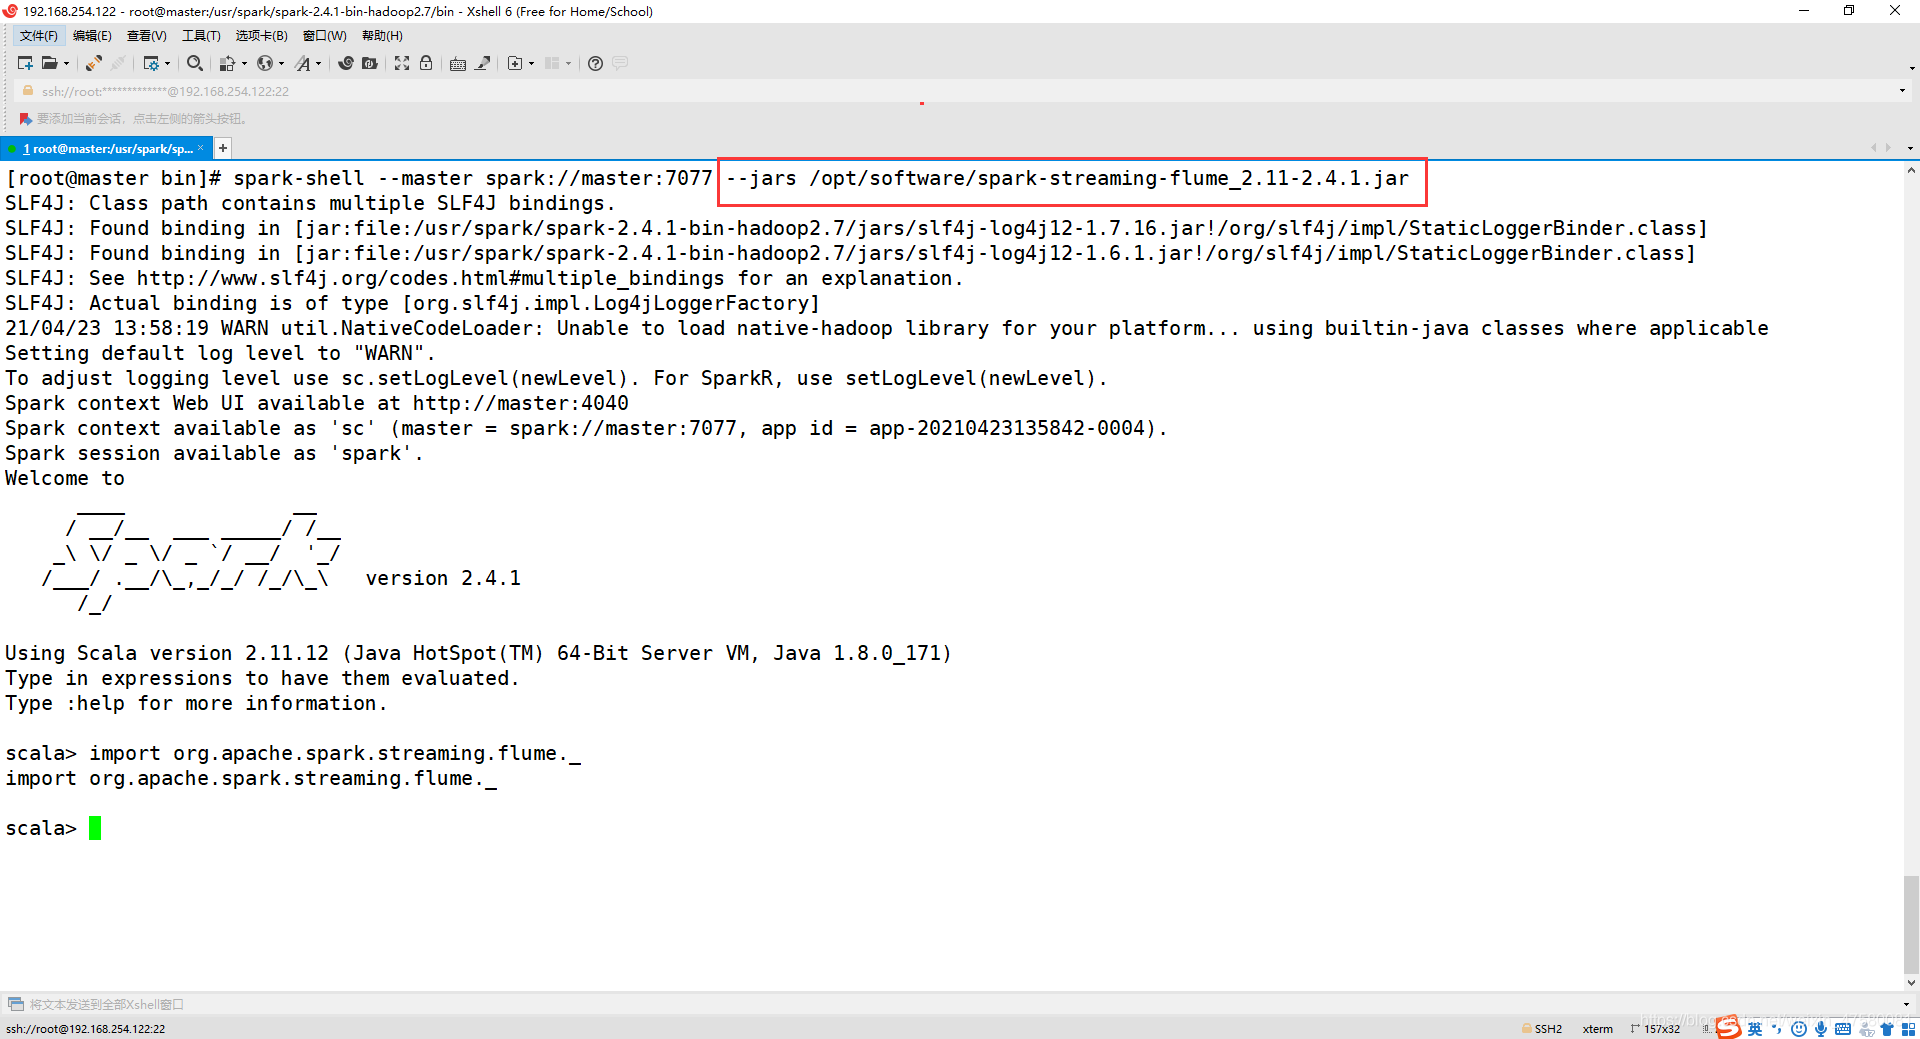
进入spark-shell,输入
import org.apache.spark.streaming.flume._
结果如下即可:
这里的话,本人并没有操作以上步骤,只是在要导包的时候,在命令后加入下面的代码,效果和以上操作差不多!
--jars /opt/software/spark-streaming-flume_2.11-2.4.1.jar
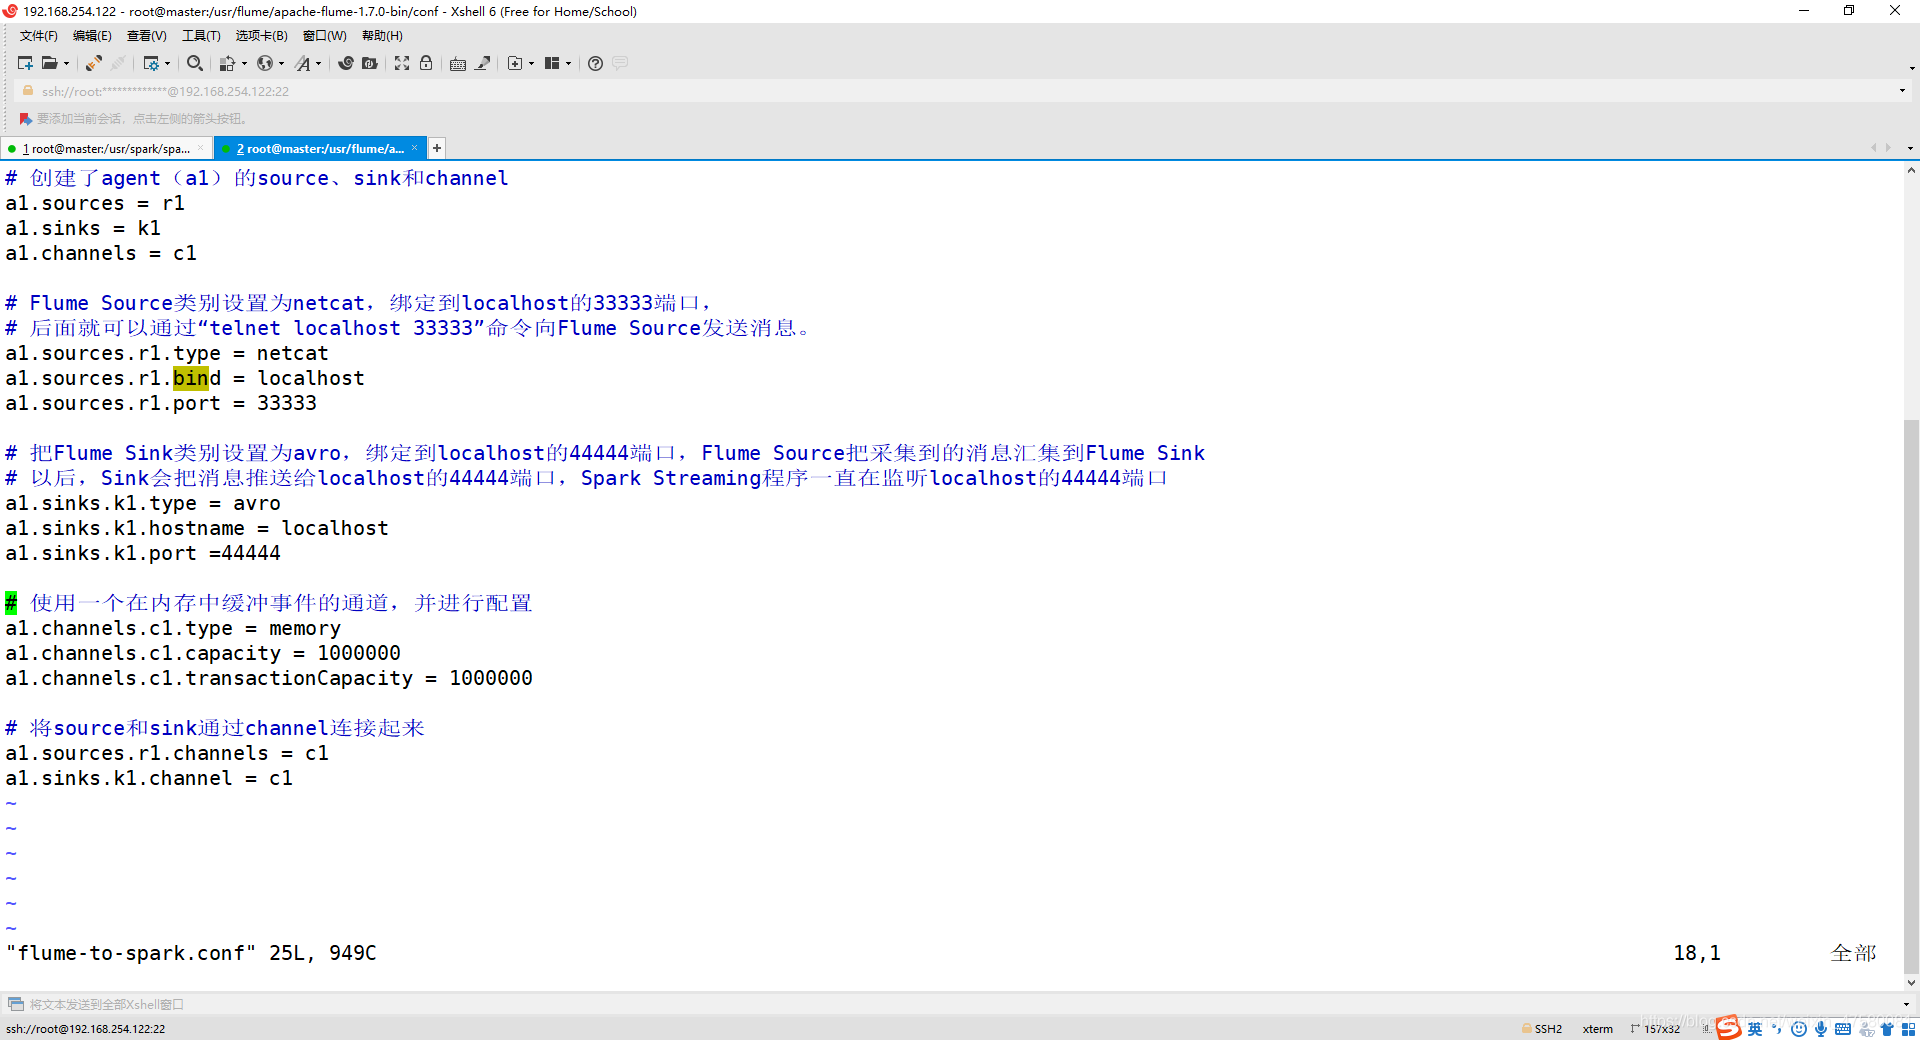
3、配置 flume-to-spark.conf 文件
cd /usr/flume/apache-flume-1.7.0-bin/conf/
vim flume-to-spark.conf
如果没有 flume-to-spark.conf 文件,就新建!
添加以下内容:
a1.sources = r1
a1.sinks = k1
a1.channels = c1
a1.sources.r1.type = netcat
a1.sources.r1.bind = localhost
a1.sources.r1.port = 33333
a1.sinks.k1.type = avro
a1.sinks.k1.hostname = localhost
a1.sinks.k1.port =44444
a1.channels.c1.type = memory
a1.channels.c1.capacity = 1000000
a1.channels.c1.transactionCapacity = 1000000
a1.sources.r1.channels = c1
a1.sinks.k1.channel = c1
4、使用在IDEA中编写spark-streaming程序并打包
修改 pom 文件,添加依赖:
<?xml version="1.0" encoding="UTF-8"?>
<project xmlns="http://maven.apache.org/POM/4.0.0"
         xmlns:xsi="http://www.w3.org/2001/XMLSchema-instance"
         xsi:schemaLocation="http://maven.apache.org/POM/4.0.0 http://maven.apache.org/xsd/maven-4.0.0.xsd">
    <modelVersion>4.0.0</modelVersion>

    <groupId>com.John</groupId>
    <artifactId>SparkTest</artifactId>
    <version>1.0-SNAPSHOT</version>

    <!--设置依赖版本号-->
    <properties>
        <scala.version>2.11.12</scala.version>
        <hadoop.version>2.7.3</hadoop.version>
        <spark.version>2.4.1</spark.version>
        <hbase.version>1.2.4</hbase.version>
    </properties>

    <dependencies>
        <!--Scala-->
        <dependency>
            <groupId>org.scala-lang</groupId>
            <artifactId>scala-library</artifactId>
            <version>${scala.version}</version>
        </dependency>
        <!--Spark-->
        <dependency>
            <groupId>org.apache.spark</groupId>
            <artifactId>spark-core_2.11</artifactId>
            <version>${spark.version}</version>
        </dependency>
        <dependency>
            <groupId>org.apache.spark</groupId>
            <artifactId>spark-sql_2.11</artifactId>
            <version>${spark.version}</version>
        </dependency>
        <dependency>
            <groupId>org.apache.spark</groupId>
            <artifactId>spark-streaming-flume_2.11</artifactId>
            <version>${spark.version}</version>
        </dependency>
        <dependency>
            <groupId>org.apache.spark</groupId>
            <artifactId>spark-streaming_2.11</artifactId>
            <version>${spark.version}</version>
        </dependency>
        <dependency>
            <groupId>mysql</groupId>
            <artifactId>mysql-connector-java</artifactId>
            <version>5.1.47</version>
        </dependency>
        <!--Hadoop-->
        <dependency>
            <groupId>org.apache.hadoop</groupId>
            <artifactId>hadoop-client</artifactId>
            <version>${hadoop.version}</version>
        </dependency>
        <!--hbase-->
        <dependency>
            <groupId>org.