―->>>>>创建一个 iOS 的 Widget (一)<<<<<―-
聊下 在项目里面 做展开和折叠
这个功能在iOS10 才出现的
并且样式 跟 iOS10 以下 是有点不一样的,
iOS9 的左边 是留了一定的间距,而iOS10 是在屏幕的两边留了大概 7 的宽度。
NSUserDefaults *def = [[NSUserDefaults alloc] initWithSuiteName:@"group.xixi"];
[def setObject:@"xixi" forKey:@"name"];
[def setObject:@18 forKey:@"age"];
[def setBool:NO forKey:@"isExpansion"];
[def synchronize];
UILabel *leftLabel = [[UILabel alloc] init];
leftLabel.frame = CGRectMake(30, 50, 50, 50);
leftLabel.text = @"折叠";
leftLabel.textColor = [UIColor blackColor];
[self.view addSubview:leftLabel];
UISwitch *sh = [[UISwitch alloc] initWithFrame:CGRectMake(CGRectGetMaxX(leftLabel.frame), 50, 100, 40)];
[sh addTarget:self action:@selector(switchAction:) forControlEvents:UIControlEventValueChanged];
[self.view addSubview:sh];
UILabel *rightLabel = [[UILabel alloc] init];
rightLabel.frame = CGRectMake(CGRectGetMaxX(sh.frame) + 10, 50, 50, 50);
rightLabel.text = @"展开";
rightLabel.textColor = [UIColor blackColor];
[self.view addSubview:rightLabel];
-(void)switchAction:(UISwitch *)switchArg
{
NSUserDefaults *def = [[NSUserDefaults alloc] initWithSuiteName:@"group.xixi"];
[def setBool:switchArg.on forKey:@"isExpansion"];
[def synchronize];
}
 ―
2.**在TodayViewController.m 里面 我加入了一个 tableView
**
- (void)viewDidLoad {
[super viewDidLoad];
NSUserDefaults *def = [[NSUserDefaults alloc] initWithSuiteName:@"group.xixi"];
nameStr = [def objectForKey:@"name"];
age = [def objectForKey:@"age"];
isExpansion = [def boolForKey:@"isExpansion"];
_tableView = [[UITableView alloc] init];
_tableView.frame = CGRectMake(0, 0, self.view.frame.size.width, self.view.frame.size.height);
_tableView.backgroundColor = [UIColor greenColor];
_tableView.delegate = self;
_tableView.dataSource = self;
[self.view addSubview:_tableView];
[self setViewModel];
}
(_tabelview 的 delegate 的方法就不贴出来了)
―
3.**通过 setViewModel 这个方法来控制 展开或者折叠**
-(void) setViewModel
{
if (ios_version >= 10)
{
if (isExpansion)
{
[self.extensionContext setWidgetLargestAvailableDisplayMode:NCWidgetDisplayModeExpanded];
}
else
{
[self.extensionContext setWidgetLargestAvailableDisplayMode:NCWidgetDisplayModeCompact];
}
}
else
{
self.preferredContentSize = CGSizeMake(0, tableview_MaxHeight);
}
}
(iOS10 是通过setWidgetLargestAvailableDisplayMode 这个方法来控制 展开和折叠,所以要进行一个版本的判断,而iOS10 以下 还是用回去 preferredContentSize 来判断)
―
//ios10 下才有这个方法
- (void)widgetActiveDisplayModeDidChange:(NCWidgetDisplayMode)activeDisplayMode withMaximumSize:(CGSize)maxSize
{
if (activeDisplayMode == NCWidgetDisplayModeCompact)
{
self.preferredContentSize = CGSizeMake([UIScreen mainScreen].bounds.size.width, 105)
_tableView.frame = CGRectMake(0, 0, self.view.frame.size.width, 105)
}
else
{
self.preferredContentSize = CGSizeMake([UIScreen mainScreen].bounds.size.width, tableview_MaxHeight)
_tableView.frame = CGRectMake(0, 0, self.view.frame.size.width, tableview_MaxHeight)
}
}
(这里顺带说下 竟然你设置了 展开或者折叠的模式之后 那么你也要相应的 把 preferredContentSize 和 tableView 的大小也设置,不然你是看不到效果。)
补充下 : 怎样让iOS9以下的 Widget 的大小跟iOS10 一样,这样就不用做两套东西
- (UIEdgeInsets)widgetMarginInsetsForProposedMarginInsets:(UIEdgeInsets)defaultMarginInsets
{
return UIEdgeInsetsZero;
}
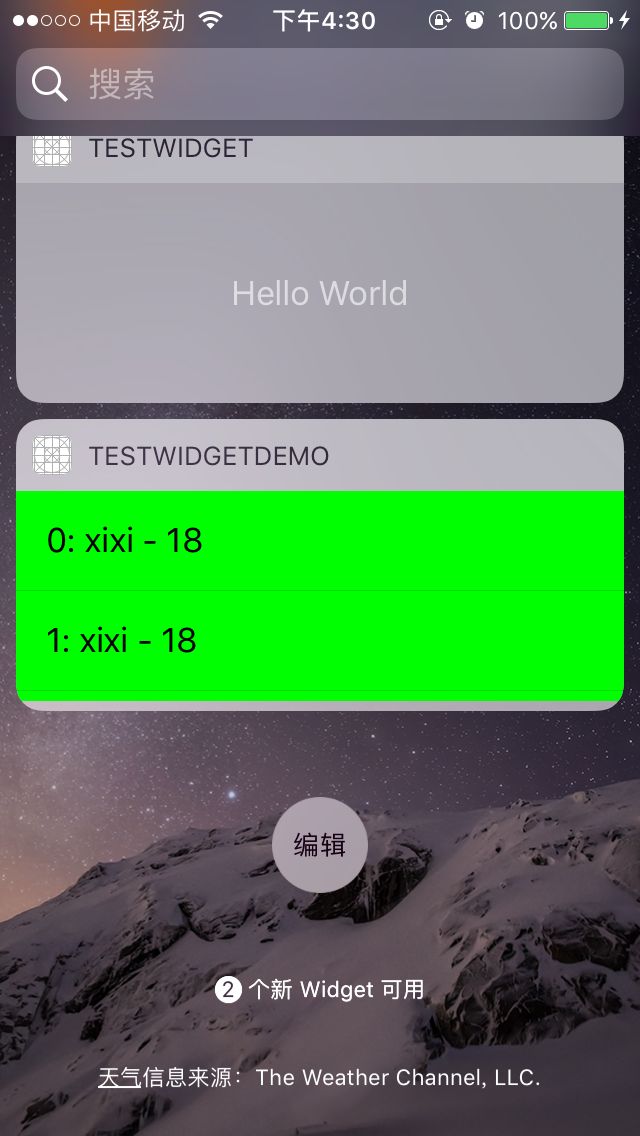
!!!!!!!!好吧 下面看效果!!!!!!!!
默认不展开
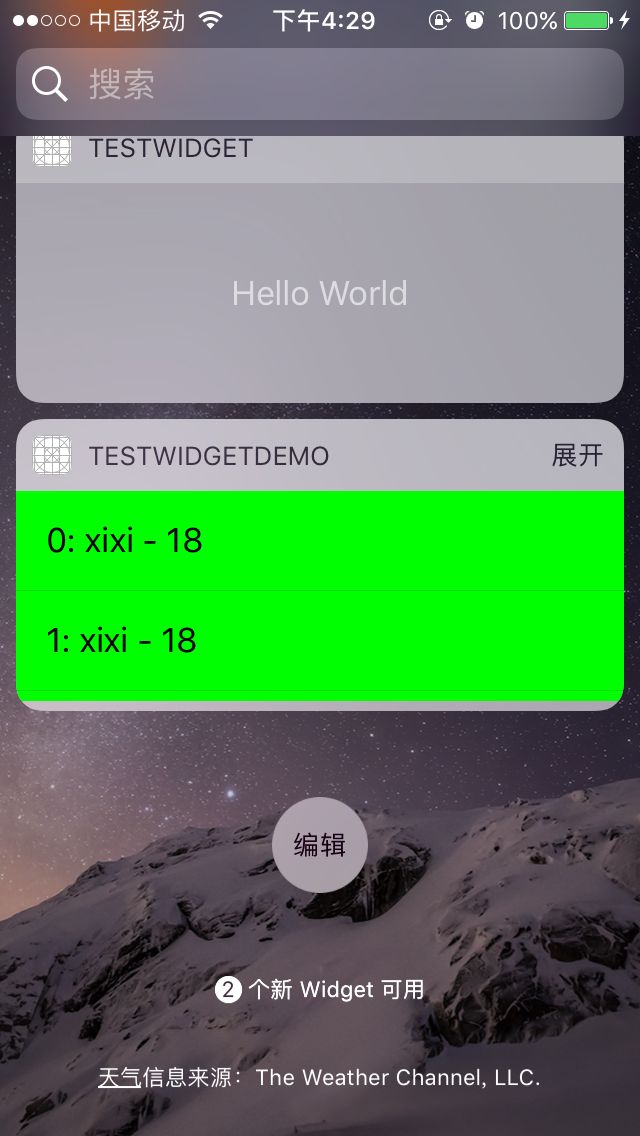
有展开
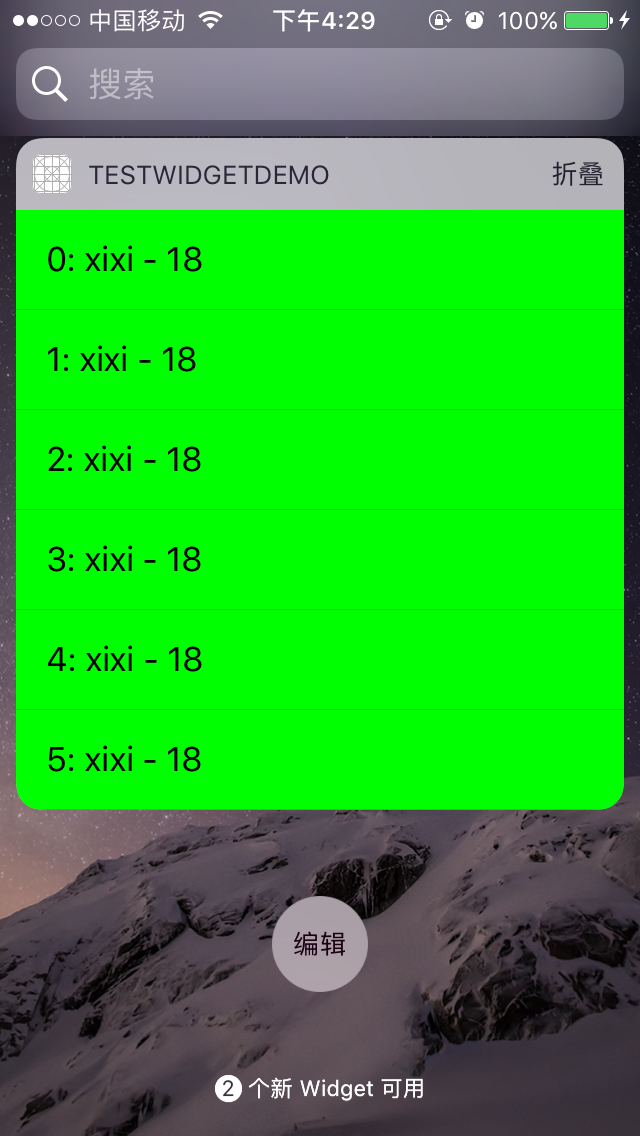
展开后效果
cs