Ŀ¼
- һ������Ҫ��
- ��������
- �������ַ
- �ġ���װ
- �塢Ӧ�ü�����
һ������Ҫ��
python 3.6+
android 4.4+
��������
uiautomator2 ��һ������ʹ��Python��Android�豸����UI�Զ����Ŀ⡣��ײ����Google uiautomator��Google�ṩ��uiautomator����Ի�ȡ��Ļ������һ��APP������һ���ؼ����ԣ�������������������
�������ַ
GitHub��ַ��
https://github.com/openatx/uiautomator2
https://github.com/openatx/uiautomator2/blob/master/README.md
�ġ���װ
1����װuiautomator2
pip install --pre uiautomator2
pip install pillow �������Ҫ��ͼ���ɰ�װ����⣩
2���豸��װatx-agent
�����豸���ӵ�PC�����ܹ�adb devices���ָ��豸��
ִ�������������Զ���װ��������Ҫ���豸�˳���uiautomator-server��atx-agent��openstf / minicap��openstf / minitouch
# init��������USB���ӵ��Ե��ֻ��϶���װuiautomator2
python -m uiautomator2 init
# ָ���ֻ���װuiautomator2�� �� --mirror
python -m uiautomator2 init --mirror --serial $SERIAL
# �������Ļ��������ù��ڵľ���
python -m uiautomator2 init --mirror
�����ʾsuccess������atx-agent��ʼ���ɹ���
3����װweditor
����������������ǿ��ٵ�ʶ���ֻ��ϵ�Ԫ�أ�����д����
��װ��֮�Ϳ��������������� weditor --help ȷ���Ƿ�װ�ɹ��ˡ�
Windowsϵͳ����ʹ�����������洴��һ����ݷ�ʽ:
��windows cmd��ִ������������������ϴ���һ����ݷ�ʽ������ͼ��

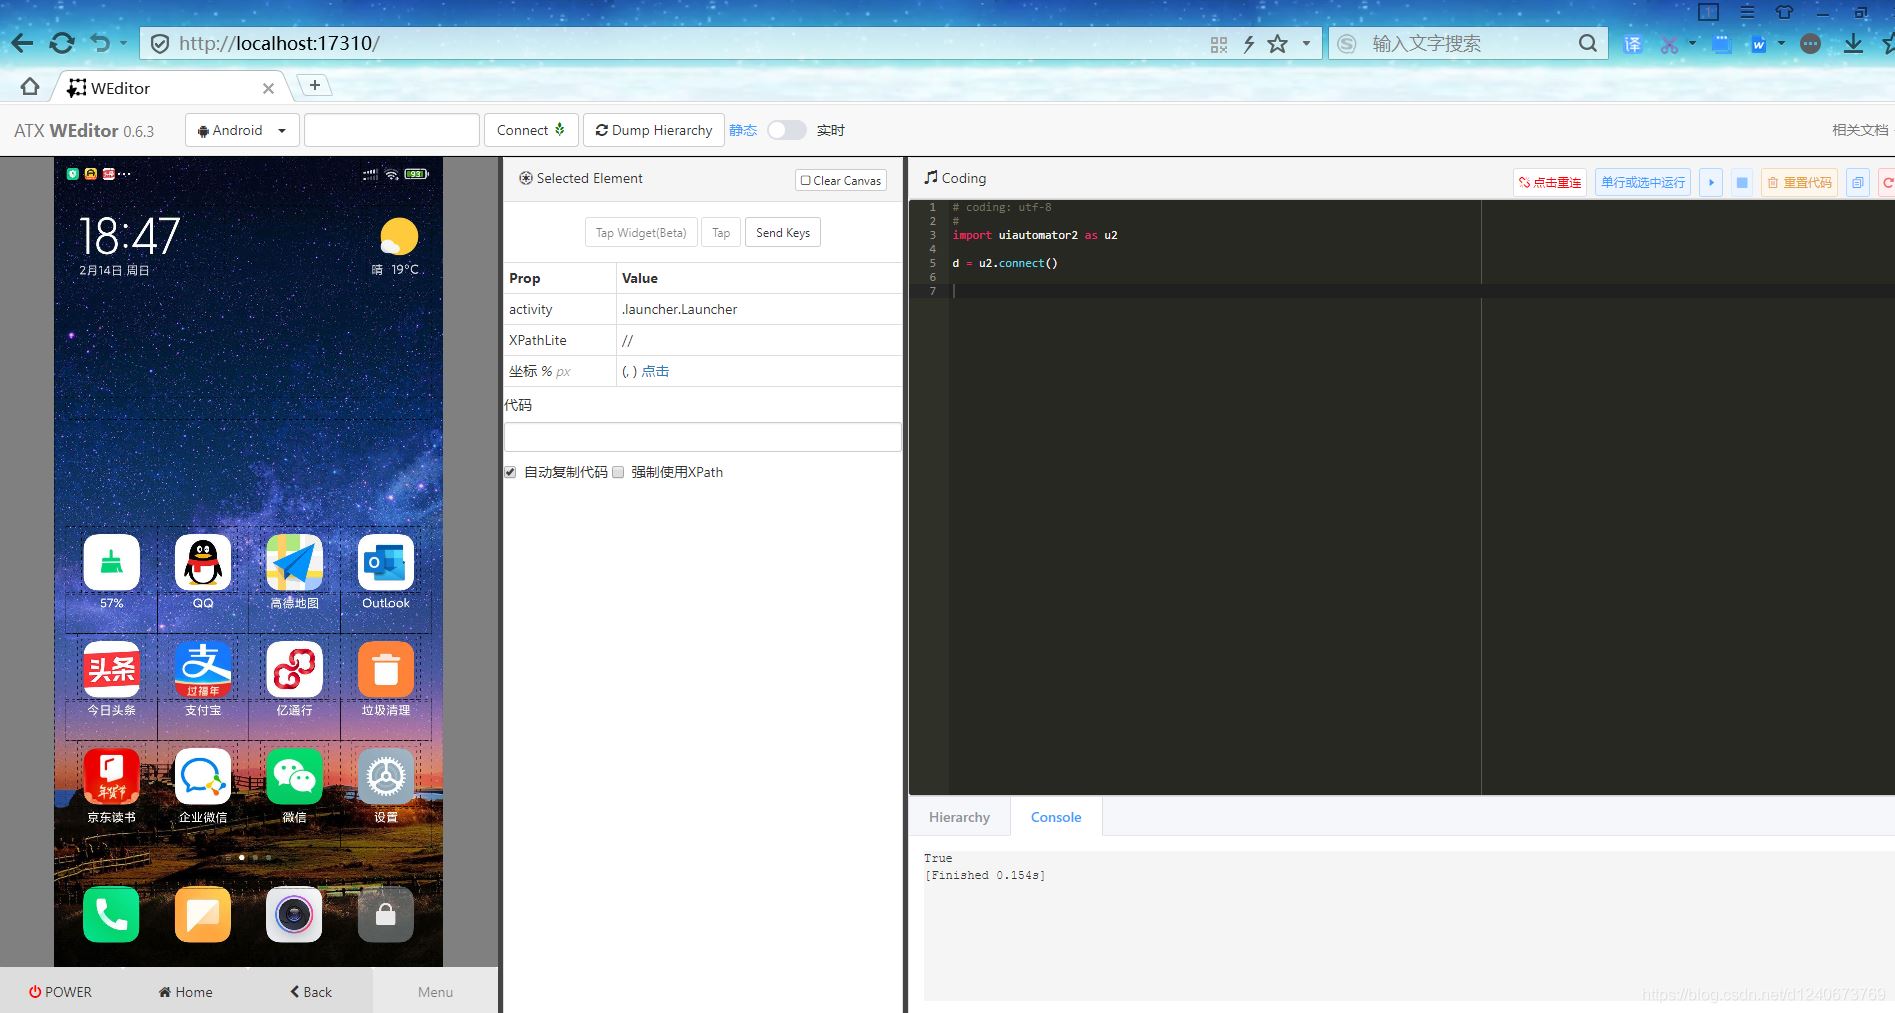
����������
����1.������ֱ������ weditor ���Զ���������������豸��ip�������кţ����Connect����;
����2.������˫��WEditor��ݷ�ʽ����;
����3.��������ִ�� python -m weditor
����������ͼ��
�塢Ӧ�ü�����
����uiautomator2����
�����ֻ��豸���������þ������������һ̨�ֻ�
ץȡ�ֻ���Ӧ�õĿؼ����ƶ���Ӧ�Ŀؼ������в���
��ץȡ���Ŀؼ����в���������������д�����ȡ�
�豸���ӷ�������������
python-uiautomator2�����ֻ��ķ�ʽ�����֣�һ����ͨ��WIFI������һ����ͨ��USB�����ַ���������ȱ�㡣
WIFI������ĵط�Ҫ�����Բ������������ߣ�USB���������PC���ֻ����粻��һ�������ò��˵������
��1��ͨ��WiFi�������豸IP 192.168.0.107������PC��ͬһ������
import uiautomator2 as u2
d = u2.connect('192.168.0.107')
��2��ͨ��USB�� �����豸������123456789F
import uiautomator2 as u2
d = u2.connect('123456789F') # USB�����豸������u2.connect_usb('123456f')
#d = u2.connect_usb() ���� d = u2.connect() ����ǰֻ��һ���豸ʱ���������
��û�в���������µ���u2.connect()�� uiautomator2���ӻ�������ANDROID_DEVICE_IP��ȡ�豸IP�����������������ǿյģ�uiautomator������connect_usb������Ҫȷ��ֻ��һ���豸���ӵ��������
��鲢ά���豸���ػ����̴�������״̬��
���Կ��أ�
��װӦ�ã�ֻ�ܴ�URL��װ��
d.app_install('http://some-domain.com/some.apk') #������Ϊ����apk��ַ
����Ӧ�ã�
d.app_start('com.eg.android.AlipayGphone') #������Ϊ�����ƣ�����Ϊ֧����
ֹͣӦ�ã�
#�൱��'am force-stop'ǿ��ֹͣӦ��
d.app_stop('com.eg.android.AlipayGphone')
#�൱��'pm clear' ���App����
d.app_clear('com.eg.android.AlipayGphone')
ֹͣ�����������е�Ӧ�ó���
# ֹͣ����
d.app_stop_all()
# ֹͣ����Ӧ�ó�����com.examples.demo
d.app_stop_all(excludes=['com.examples.demo'])
������������ֹ������
d.disable_popups() # �Զ�������������
d.disable_popups(False) # �����Զ�����������
��ȡ�豸��Ϣ��
# ��ȡ������Ϣ
d.info
# ��ȡ���ڴ�С
print(d.window_size())
# �豸��ֱ���ʾ��: (1080, 1920)
# �豸ˮƽ���ʾ��: (1920, 1080)
# ��ȡ��ǰӦ�ó�����Ϣ������ijЩandroid�豸���������Ϊ��
print(d.current_app())
#��ȡ�豸���к�
print(d.serial)
#��ȡWIFI IP
print(d.wlan_ip)
#��ȡ��ϸ���豸��Ϣ
print(d.device_info)
��ȡӦ����Ϣ��
d.app_info("com.eg.android.AlipayGphone")
# �����
'''
{
"packageName": "com.eg.android.AlipayGphone",
"mainActivity": "com.eg.android.AlipayGphone.AlipayLogin",
"label": "֧����",
"versionName": "10.2.13.9020",
"versionCode": 360,
"size": 108306104
}
'''
# ����Ӧ�ó���ͼ��
img = d.app_icon("com.eg.android.AlipayGphone")
img.save("icon.png")
�����ļ���
��1�����ļ����͵��豸
# push�ļ���
d.push("foo.txt", "/sdcard/")
# push��������
d.push("foo.txt", "/sdcard/bar.txt")
# push fileobj
with open("foo.txt", 'rb') as f:
d.push(f, "/sdcard/")
# �ƶ������ļ�����ģʽ
d.push("foo.sh", "/data/local/tmp/", mode=0o755)
��2�����豸������һ���ļ�
d.pull("/sdcard/tmp.txt", "tmp.txt")
# ������豸���Ҳ����ļ���FileNotFoundError������
d.pull("/sdcard/some-file-not-exists.txt", "tmp.txt")
�ؼ��¼���
��1����/�ر���Ļ
d.screen_on()������Ļ
d.screen_off() ���ر���Ļ
��2����ȡ��ǰ��Ļ״̬
d.info.get('screenOn') # ��Ҫ Android> = 4.4
��3��Ӳ���̺������̲���
d.press("home") # ���home��
d.press("back") # ���back��
d.press("left") # ������
d.press("right") # ����Ҽ�
d.press("up") # ����ϼ�
d.press("down") # ����¼�
d.press("center") # ���ѡ��
d.press("menu") # ���menu����
d.press("search") # �����������
d.press("enter") # ���enter��
d.press("delete") # ���ɾ������
d.press("recent") # ������ڻ����
d.press("volume_up") # ����+
d.press("volume_down") # ����-
d.press("volume_mute") # ����
d.press("camera") # ���
d.press("power") #��Դ��
��4��������Ļ
d.unlock()
# �൱��
# 1. ����:com.github.uiautomator.ACTION_IDENTIFY
# 2. ��home��
�������豸�Ľ�����
# ������Ļ
d.click(x,y) # x,y�������
# ˫����Ļ
d.double_click(x,y)
d.double_click(x,y,0.1) # Ĭ����������֮����ʱ��Ϊ0.1��
# ����
d.long_click(x,y)
d.long_click(x,y,0.5) # ����0.5�루Ĭ�ϣ�
# ����
d.swipe(sx, sy, ex, ey)
d.swipe(sx, sy, ex, ey, 0.5) #����0.5s(default)
#�϶�
d.drag(sx, sy, ex, ey)
d.drag(sx, sy, ex, ey, 0.5)#�϶�0.5s(default)
# ������ �����ھŹ����������ǰ��ȡ��ÿ�����������꣨����֧�ְٷֱȣ�
# �ӵ�(x0, y0)������(x1, y1)�ٻ�����(x2, y2)
# ����֮��Ļ����ٶ���0.2��
d.swipe((x0, y0), (x1, y1), (x2, y2), 0.2)
# ע�⣺�������������϶�����֧�ְٷֱ�λ��ֵ������
d.long_click(0.5, 0.5) ��ʾ������Ļ����
XPath��
# ��������
d.orientation
# ����������������� "natural" or "left" or "right" or "upsidedown"
# ���÷���
d.set_orientation("l") # or "left"
d.set_orientation("r") # or "right"
d.set_orientation("n") # or "natural"
#����/ ������ת
d.freeze_rotation() # ������ת
d.freeze_rotation(False) # ������ת
########## ��ͼ ############
# ��ͼ�����浽�����ϵ�һ���ļ��У���ҪAndroid>=4.2��
d.screenshot("home.jpg")
# �õ�PIL.Image��ʽ��ͼ��. ��������Ȱ�װpillow
image = d.screenshot() # default format="pillow"
image.save("home.jpg") # ��'home.png'��Ŀǰֻ֧��png �� jpg��ʽ��ͼ��
# �õ�OpenCV�ĸ�ʽͼ��Ȼ������Ҫnumpy��cv2��װ��һ��
import cv2
image = d.screenshot(format='opencv')
cv2.imwrite('home.jpg', image)
# ��ȡԭʼJPEG����
imagebin = d.screenshot(format='raw')
open("some.jpg", "wb").write(imagebin)
#############################
# ת��UI��νṹ
# get the UI hierarchy dump content (unicoded).����ȡUI��νṹת�����ݣ�
d.dump_hierarchy()
# ��֪ͨ���������
d.open_notification() #������֪ͨ��
d.open_quick_settings() #��������������
# ����ض���UI�����Ƿ����
d(text="Settings").exists # ���ز���ֵ�����������ΪTrue������ΪFalse
d.exists(text="Settings") # ��һ��д��
# ���÷�
d(text="Settings").exists(timeout=3) # �ȴ�'Settings'��3���ӳ���
# ��ȡ�ض�UI�������Ϣ
d(text="Settings").info
# ��ȡ/����/����ɱ༭�ֶε��ı�(����EditTextС����)
d(text="Settings").get_text() #�õ��ı�С����
d(text="Settings").set_text("My text...") #�����ı�
d(text="Settings").clear_text() #����ı�
# ��ȡWidget���ĵ�
d(text="Settings").center()
#d(text="Settings").center(offset=(0, 0)) # ��λ����ǰ
UI���������ֶ�λ��ʽ��
# text��resourceId��description��className��xpath������
# ִ�е���UI����
#text�����
d(text="Settings").click()
d(text="Settings", className="android.widget.TextView").click()
#resourceId�����
d(resourceId="com.ruguoapp.jike:id/tv_title", className="android.widget.TextView").click()
#description�����
d(description="����").click()
d(description="����", className="android.widget.TextView").click()
#className�����
d(className="android.widget.TextView").click()
#xpath�����
d.xpath("//android.widget.FrameLayout[@index='0']/android.widget.LinearLayout[@index='0']").click()
#���굥��
d.click(182, 1264)
# �ȴ�Ԫ�س���(���10�룩�����ֺ�
d(text="Settings").click(timeout=10)
# ��10��ʱ�����Ĭ�ϵij�ʱ0
d(text='Skip').click_exists(timeout=10.0)
# ����ֱ��Ԫ����ʧ�����ز���
d(text="Skip").click_gone(maxretry=10, interval=1.0) # maxretryĬ��ֵ10,intervalĬ��ֵ1.0
# �����λ��ƫ��
d(text="Settings").click(offset=(0.5, 0.5)) # �������λ�ã�ͬd(text="Settings").click()
d(text="Settings").click(offset=(0, 0)) # �����ǰλ��
d(text="Settings").click(offset=(1, 1)) # �������
# ִ��˫��UI����
d(text="����").double_click() # ˫���ض�ui���������
d.double_click(x, y, 0.1) # ���ε���֮���Ĭ�ϳ���ʱ��Ϊ0.1��
#ִ�г���UI����
# �����ض�UI���������
d(text="Settings").long_click()
d.long_click(x, y, 0.5) # ��������λ��0.5sĬ��
# ��UI����������һ�������һ��UI����
# Android<4.3����ʹ��drag.
# ��0.5���ڽ�UI�����ϵ���Ļ��(x, y)
d(text="Settings").drag_to(x, y, duration=0.5)
# ��UI�����ϵ���һ��UI���������λ�ã�ʱ��Ϊ0.25��
d(text="Settings").drag_to(text="Clock", duration=0.25)
�����÷���
# �ȴ�10s
d.xpath("//android.widget.TextView").wait(10.0)
# �ҵ�������
d.xpath("//*[@content-desc='����']").click()
# ����Ƿ����
if d.xpath("//android.widget.TextView[contains(@text, 'Se')]").exists:
print("exists")
# ��ȡ�����ı���ͼ�ı������Ժ����ĵ�
for elem in d.xpath("//android.widget.TextView").all():
print("Text:", elem.text)
#��ȡ��ͼ�ı�
for elem in d.xpath("//android.widget.TextView").all():
print("Attrib:", elem.attrib)
#��ȡ���Ժ����ĵ�
#����: (100, 200)
for elem in d.xpath("//android.widget.TextView").all():
print("Position:", elem.center())
# xpath�����÷���
# ����Ԫ��
//*
# resource-id����login�ַ�
//*[contains(@resource-id, 'login')]
# ��ť�����˺Ż��ʺ�
//android.widget.Button[contains(@text, '�˺�') or contains(@text, '�ʺ�')]
# ����ImageView�еĵڶ���
(//android.widget.ImageView)[2]
# ����ImageView�е����һ��
(//android.widget.ImageView)[last()]
# className����ImageView
//*[contains(name(), "ImageView")]
���²ο���https://vic.kim/2019/05/20/UIAutomator2%E7%9A%84%E4%BD%BF%E7%94%A8/
jsjbwy